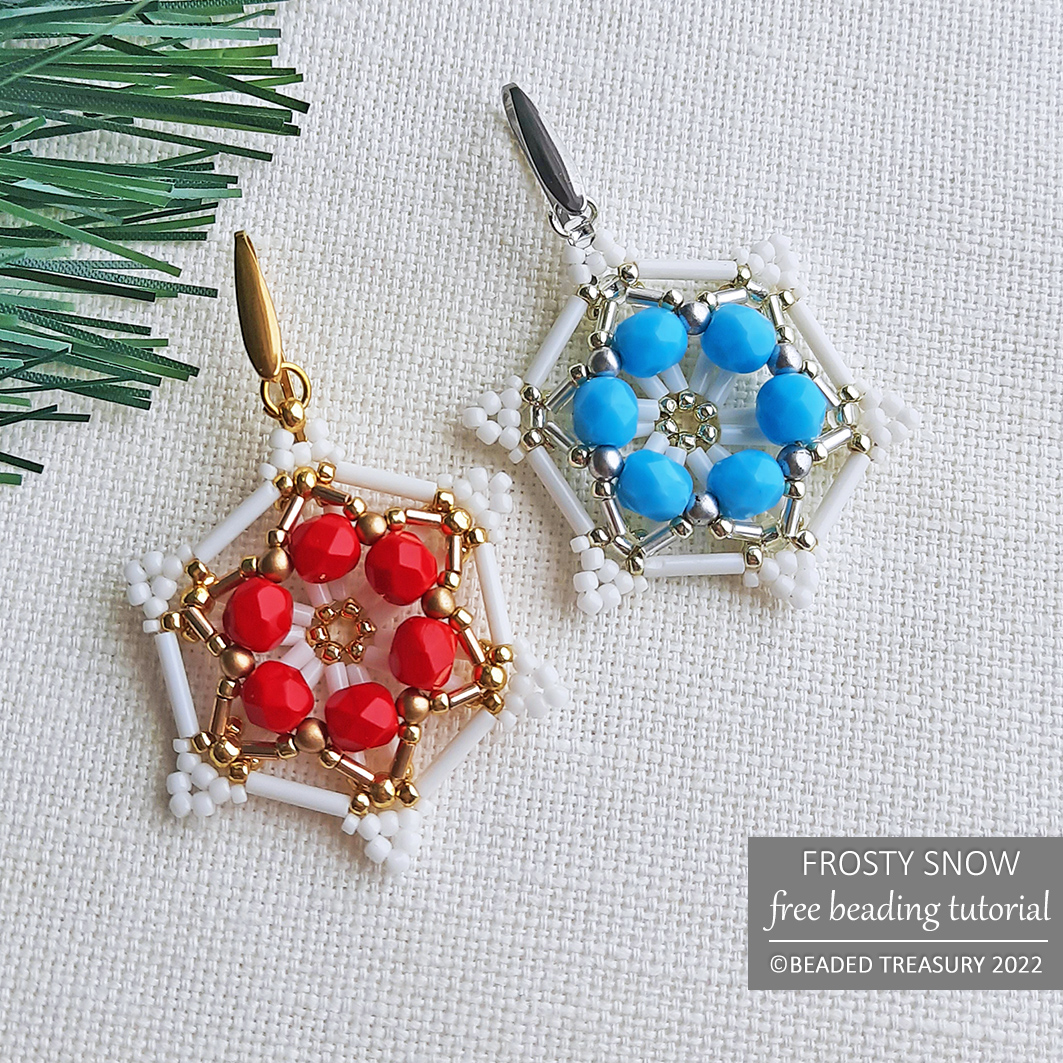
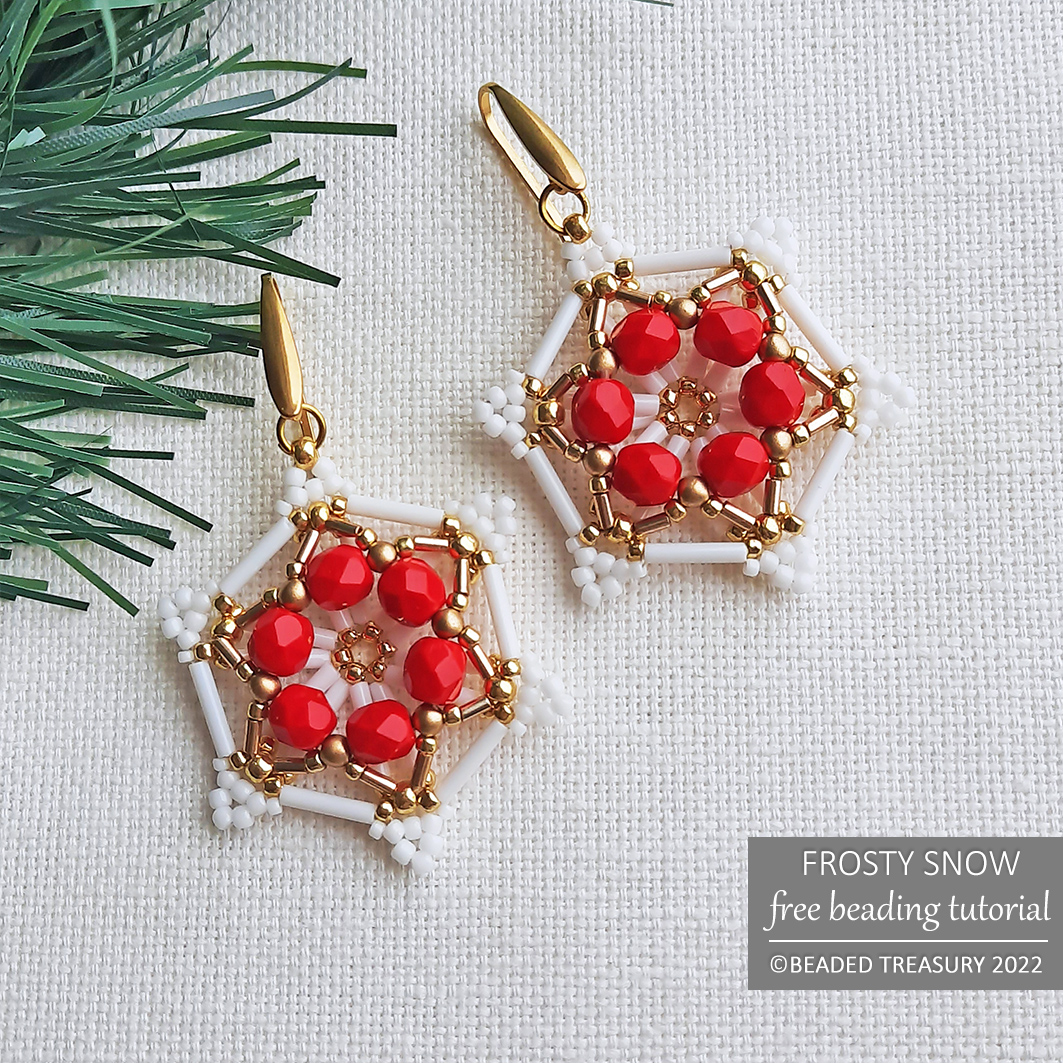
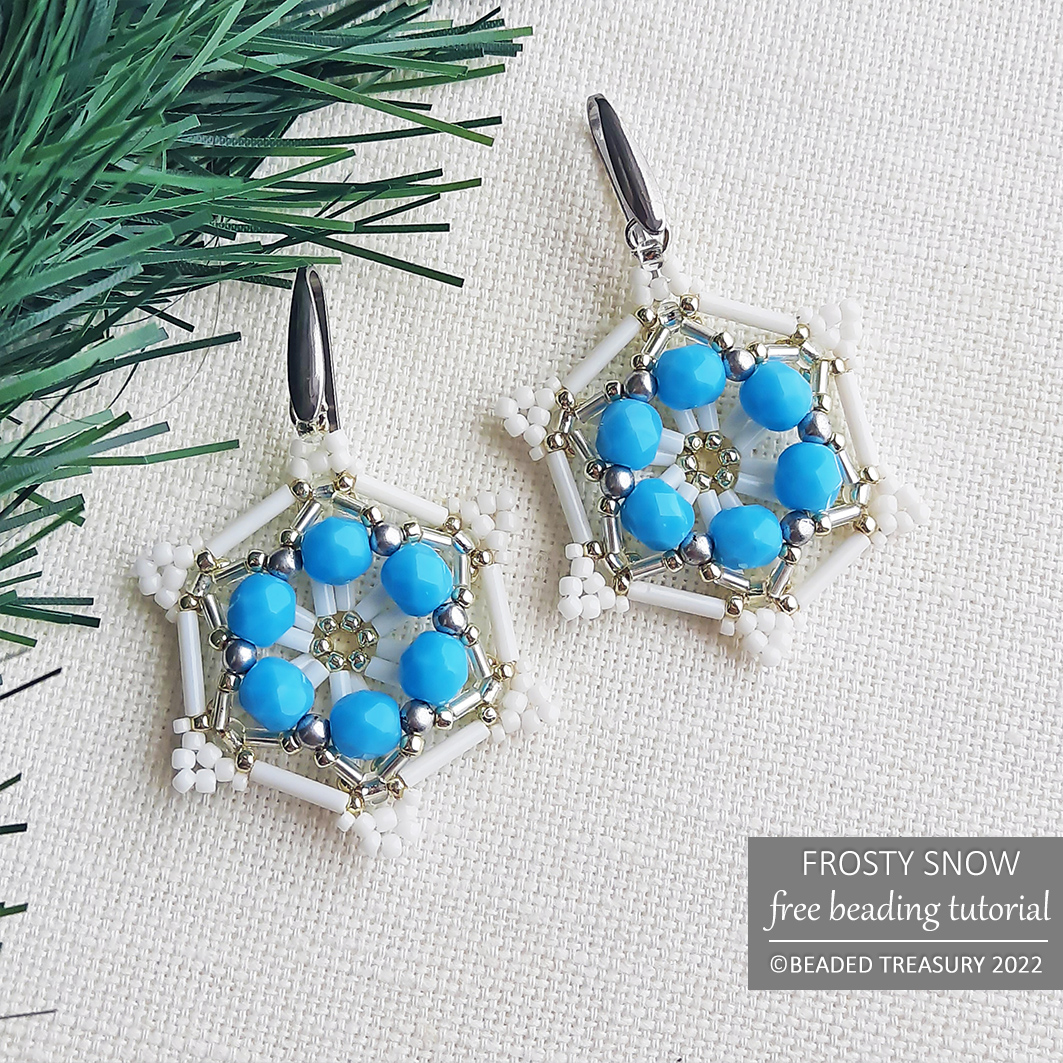
Frosty Snow Earrings
Free Beading Tutorial
An original BeadedTreasury Design (© 2022 Iulia Postica. All rights reserved). This tutorial is for personal use only. It cannot be sold, shared, republished (online and off-line), redistributed, translated without permission, or edited in any way – in part or in whole. Please always credit me as a designer. Thank you!
www.BeadedTreasury.com
********************
Techniques
Bead weaving
Project Level
Intermediate
Materials
Silver Blue
• 12 Opaque Turquoise Blue, 6mm, Fire Polished Round Beads
• 12 Silver Matte, 3mm, Czech Round Beads
• 24 Silver Lined Crystal, 3mm, Bugle Beads (Toho 21)
• 36 Opaque White, 9mm, Bugle Beads (Toho 41)
• Color A - appr. 0.8 gr., 11/0 seed beads (Toho PF558 - Permafinish Galvanized Silver)
• Color B - appr. 0.1 gr., 8/0 seed beads (Toho PF558 - Permafinish Galvanized Silver or Toho 21 - Silver Lined Crystal)
• Color C - appr. 0.7 gr., 11/0 seed beads (Toho 41 - Opaque White)
• Color D - appr. 0.1 gr., 15/0 seed beads (Toho 41 - Opaque White)
• Two 5mm silver jump rings
• Two silver ear hooks
• Size D beading thread, white
Gold Red
• 12 Opaque Red, 6mm, Fire Polished Round Beads
• 12 Gold Matte, 3mm, Czech Round Beads
• 24 Permafinish Galvanized Starlight, 3mm, Bugle Beads (Toho-PF557)
• 36 Opaque White, 9mm, Bugle Beads (Toho 41)
• Color A - appr. 0.8 gr., 11/0 seed beads (Toho PF557 - Permafinish Galvanized Starlight)
• Color B - appr. 0.1 gr., 8/0 seed beads (Toho PF557 - Permafinish Galvanized Starlight)
• Color C - appr. 0.7 gr., 11/0 seed beads (Toho 41 - Opaque White)
• Color D - appr. 0.1 gr., 15/0 seed beads (Toho 41 - Opaque White)
• Two 5mm gold jump rings
• Two gold ear hooks
• Size D beading thread, white
Tools
Size 11 beading needle
Scissors
Flat-nose pliers
Finished Size
Diameter of beaded element – 4.1 cm (1.6 inches)
********************
********************
INSTRUCTION
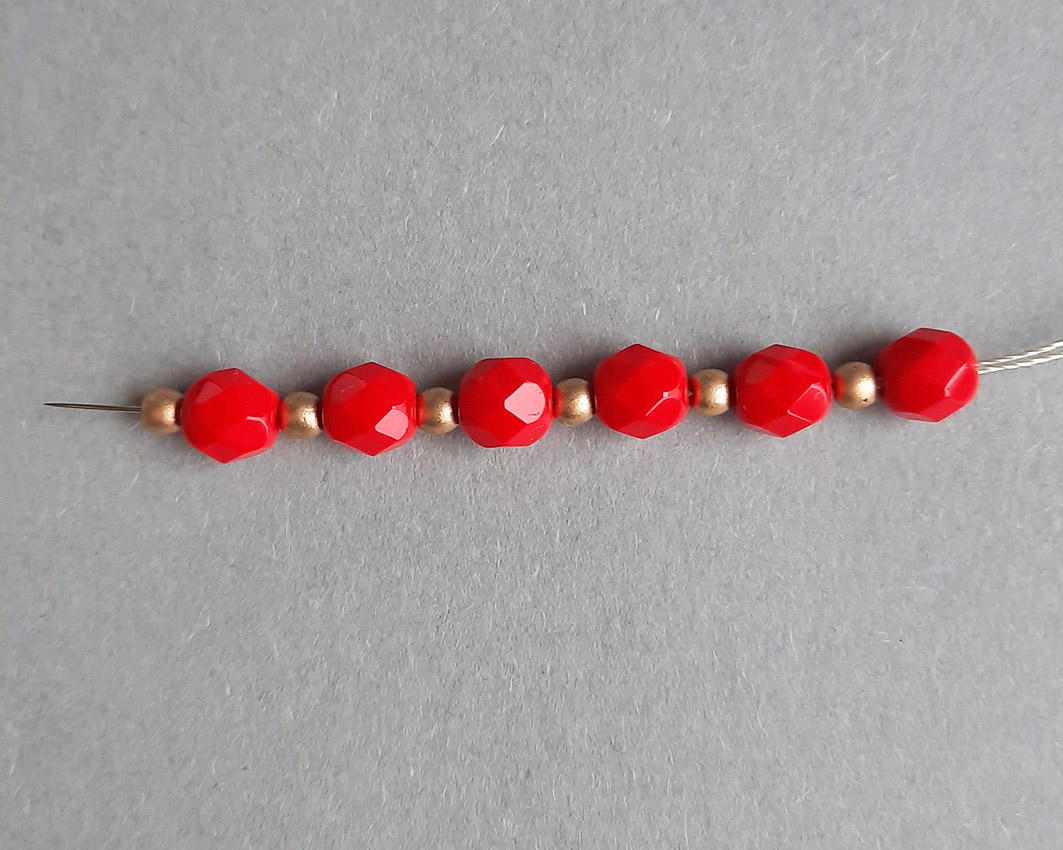
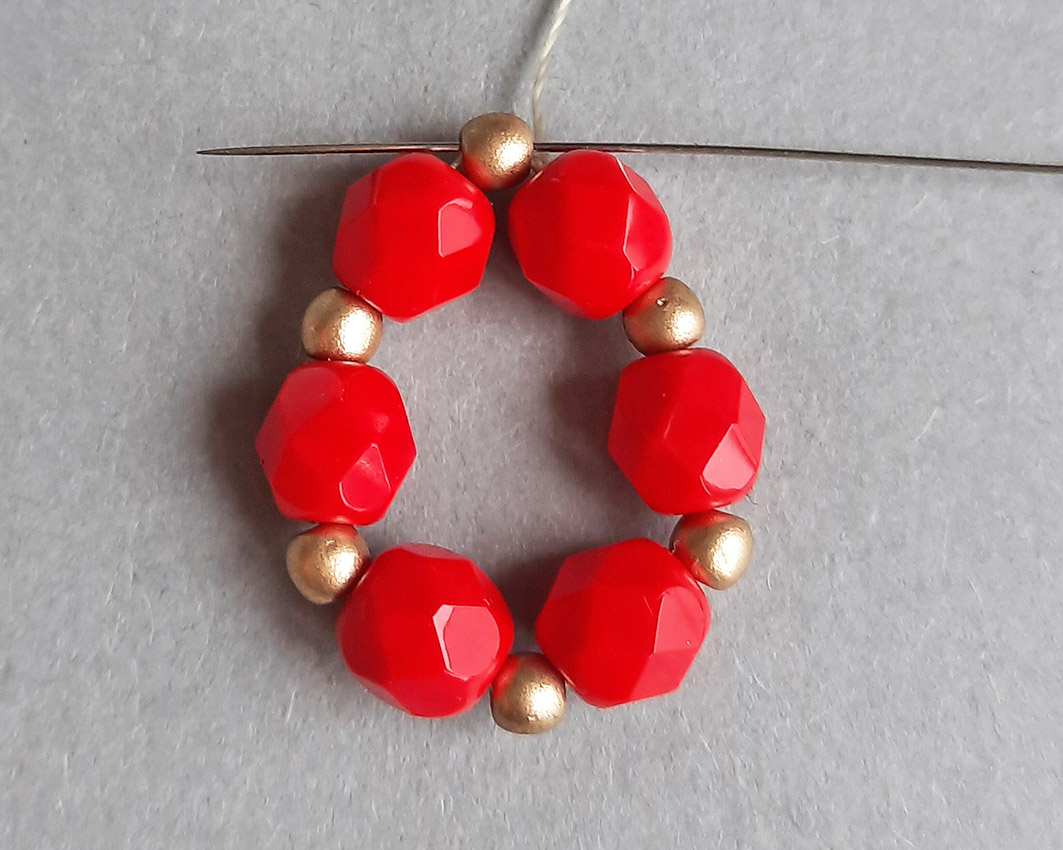
Step 1.
Take about 110 cm (43.3 inches) of thread. Pick up one 6 mm fire polished bead and one 3 mm round bead six times (figure 1).
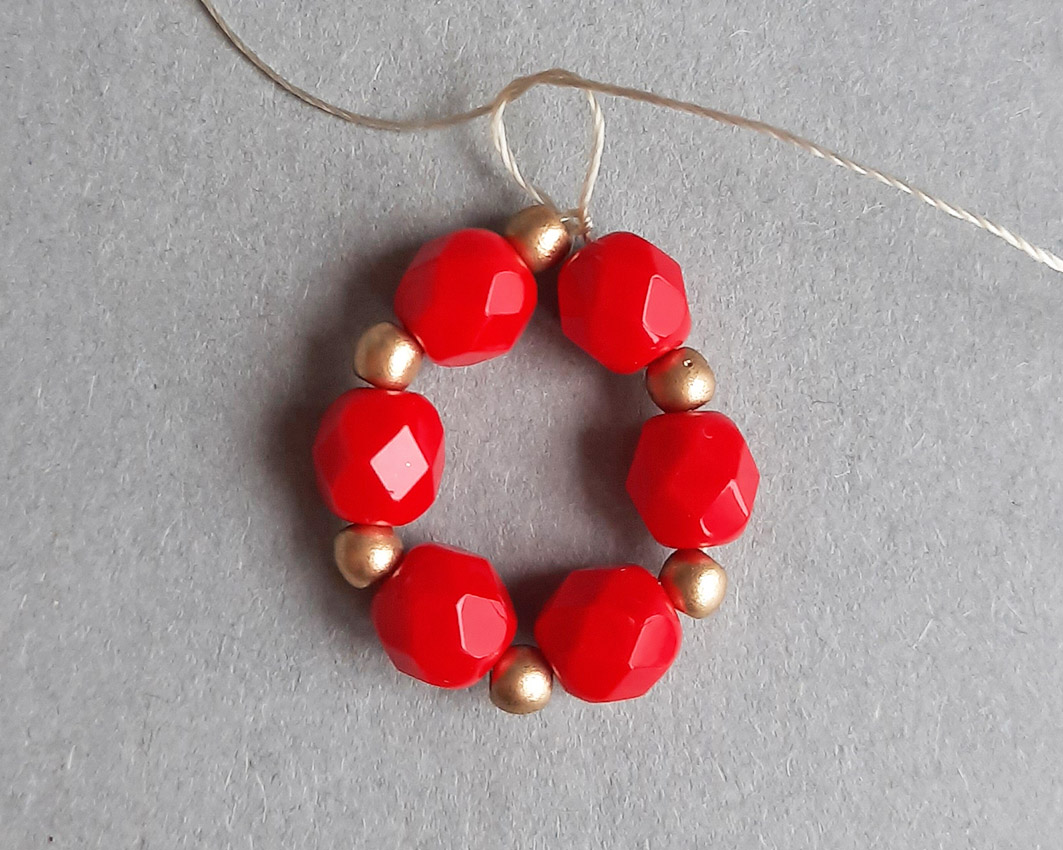
Leaving a 5 cm (2-inch) tail, use the two threads to make a ring and secure it with two square knots (figure 2).
Step 2.
Sew with the needle through the next 3mm round bead (figure 3).
Step 3.
Pick up one A 11/0, one 3 mm bugle bead, one B 8/0, one 3 mm bugle bead, one A 11/0 and sew through the next 3 mm round bead from the ring (figure 4).
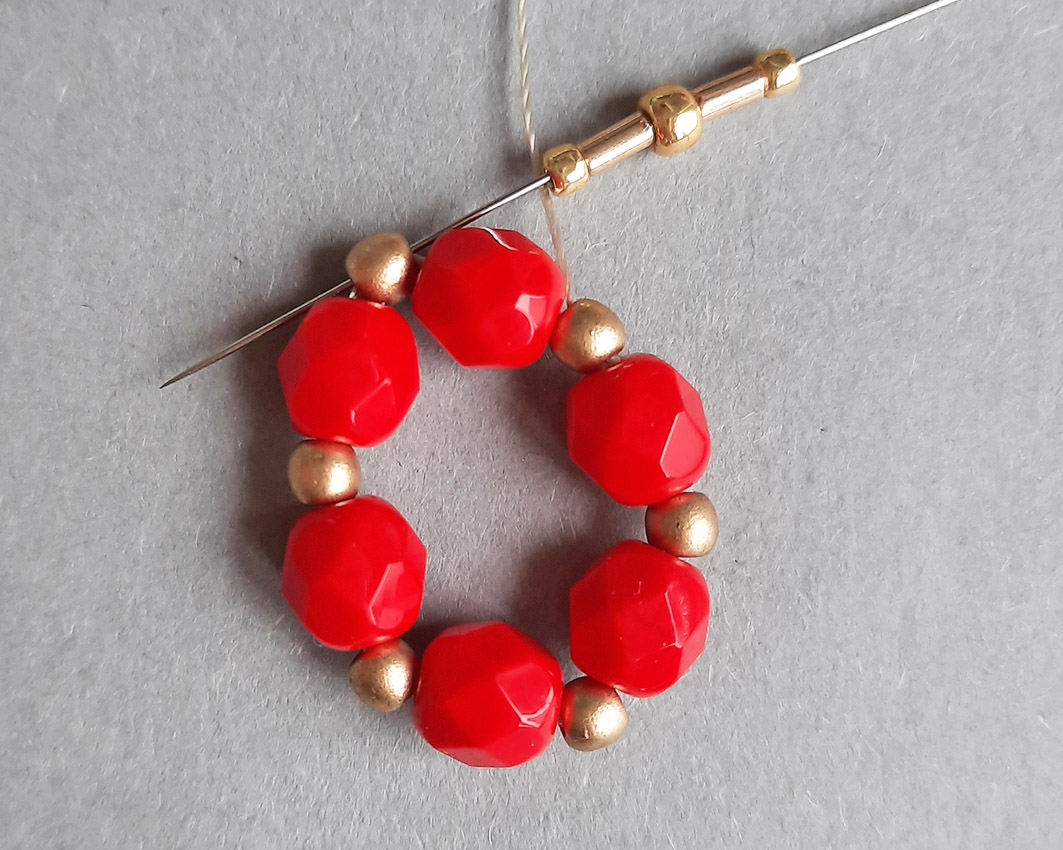
Repeat five more times. Step up through the first added three beads (one A 11/0, one 3mm bugle bead and one B 8/0) (figure 5).
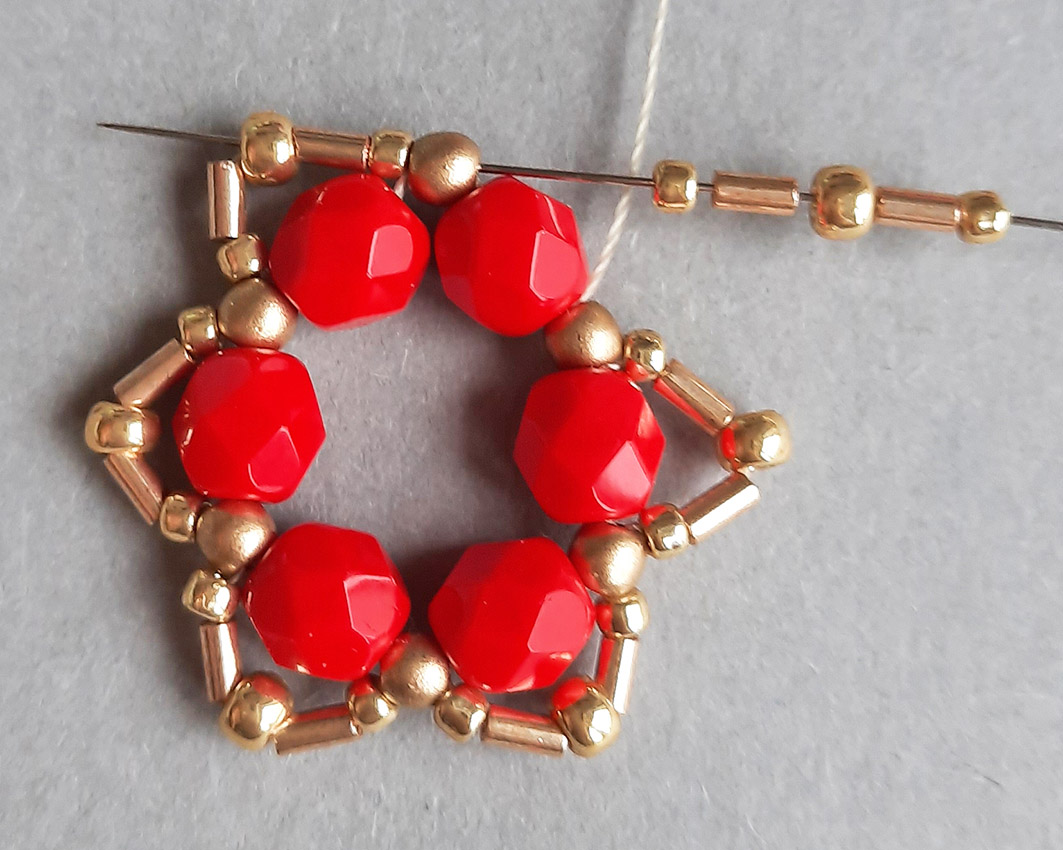
Step 4.
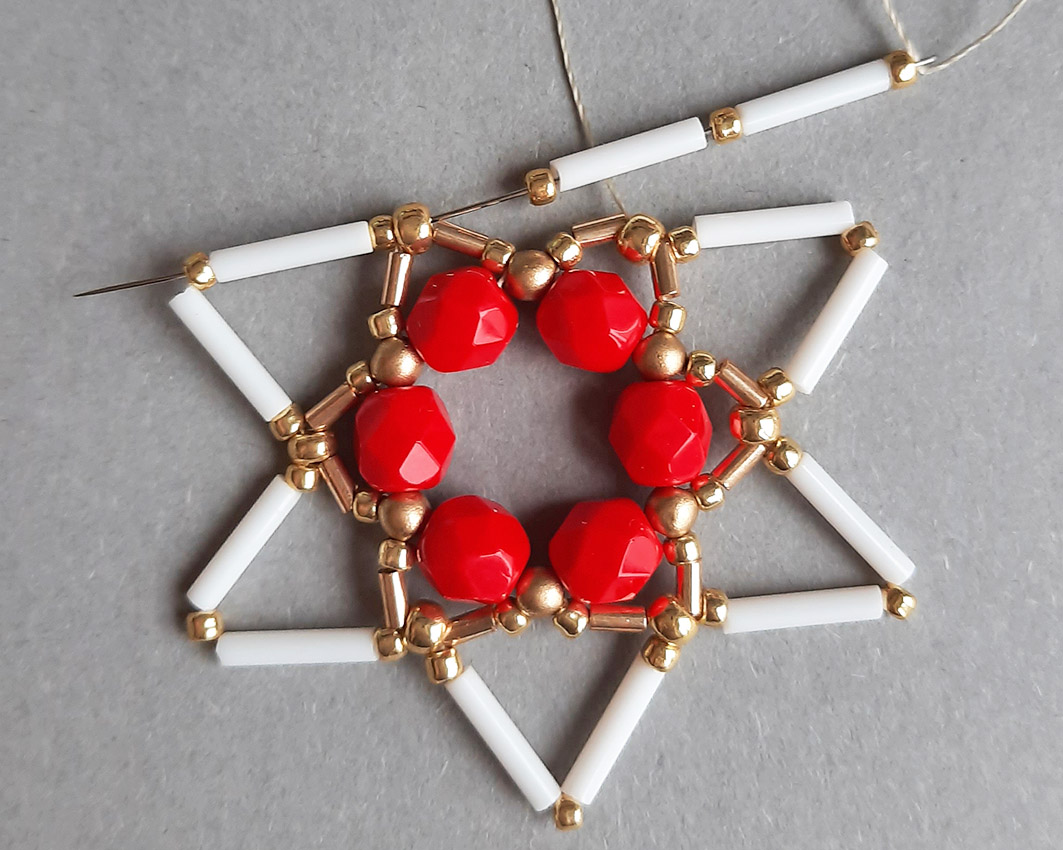
Pick up one A 11/0, one 9 mm bugle bead, one A 11/0, one 9 mm bugle bead and one A 11/0 and sew through the next 8/0 (figure 6).
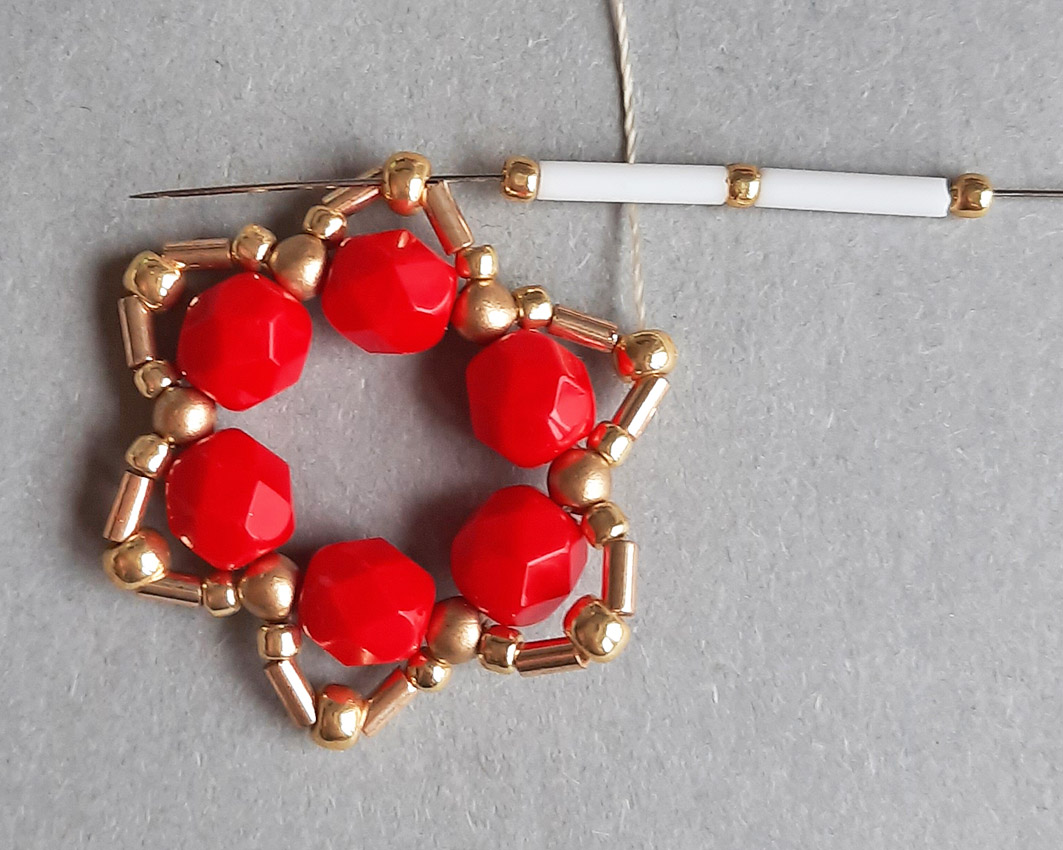
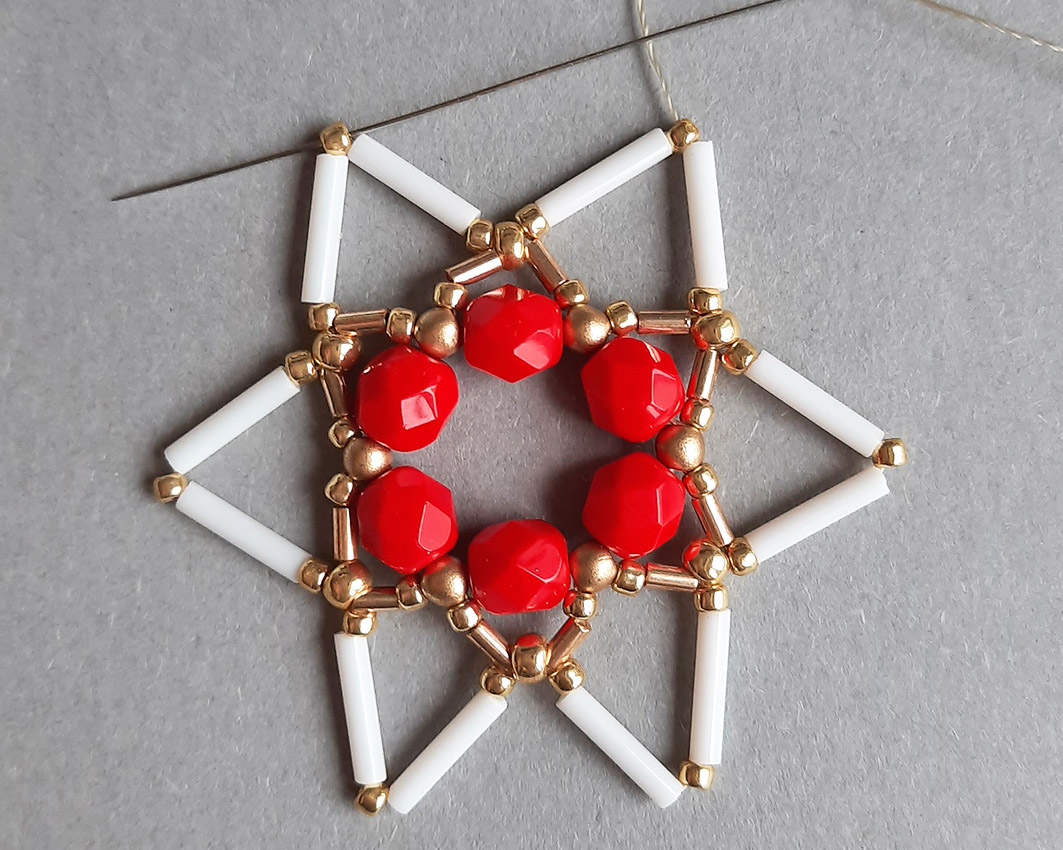
Repeat five more times. Step up through the first added three beads (one A 11/0, one 9 mm bugle bead, one A 11/0) (figure 7).
Step 5.
Take the needle through the middle 11/0 seed bead from the next group of five beads added in the previous row (figure 8).
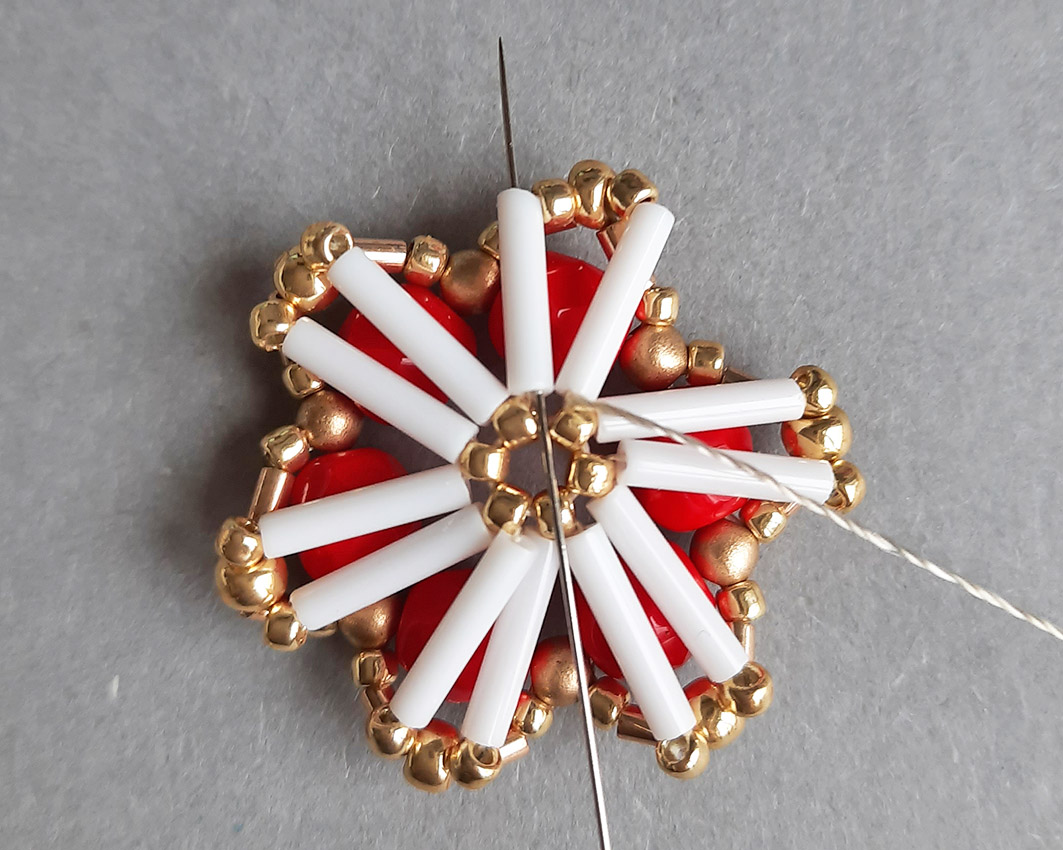
Take the needle through all middle 11/0 seed beads from all following groups and gather them together into a ring. Exit from the first one and pull the thread tight. This is the back side of the earring (figure 9).
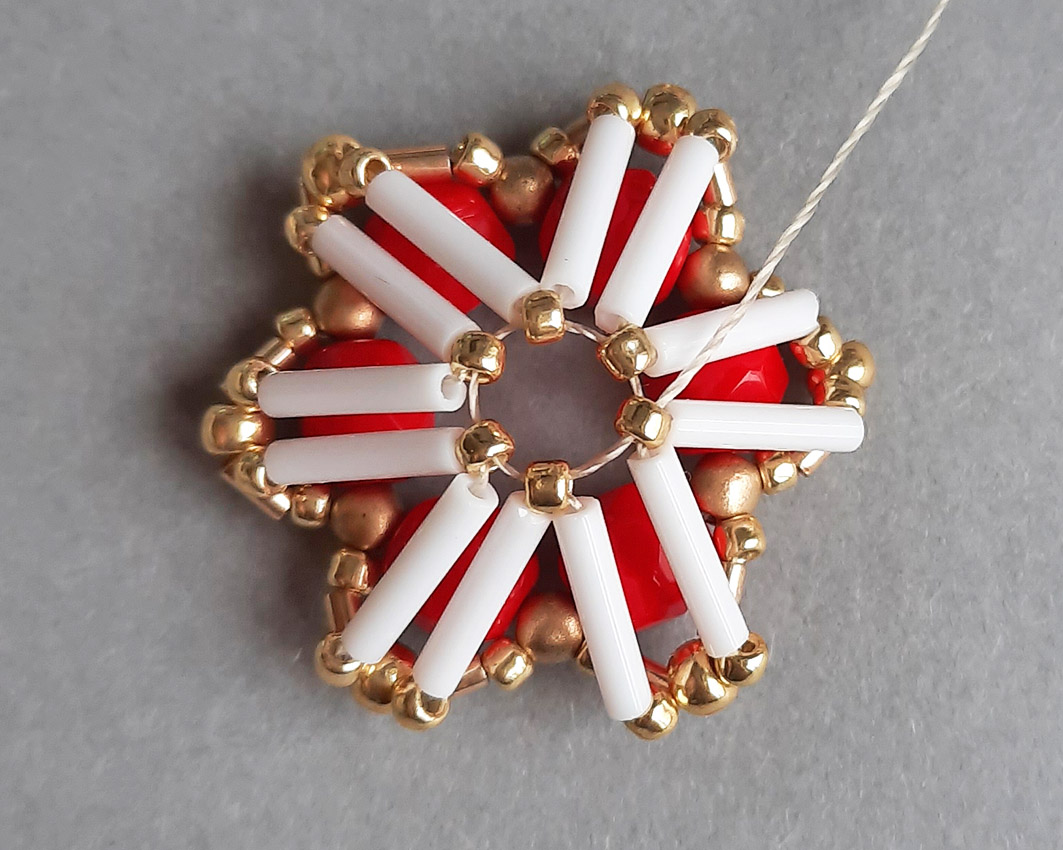
Step 6.
Sew through the left 9 mm bugle bead (from the group of two) (figure 10).
Turn the beadwork on the other side (the front side) and sew through the next 11/0 and 8/0 seed beads along the edge (figure 11).
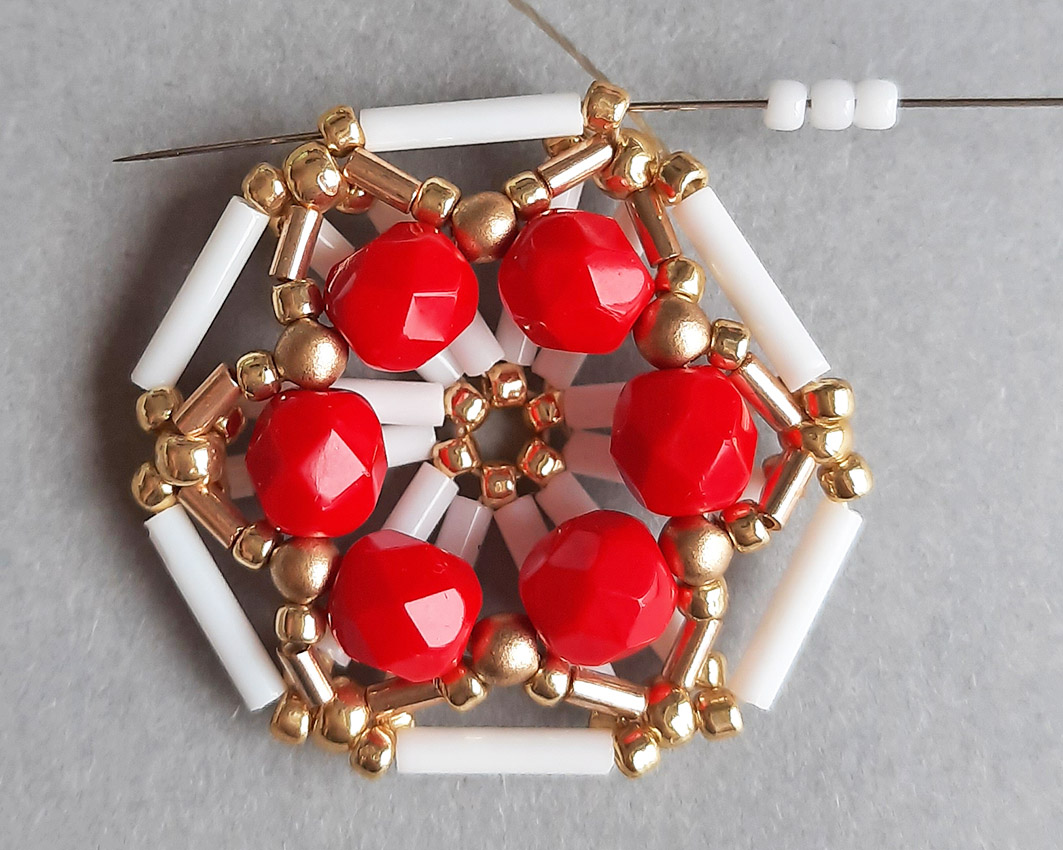
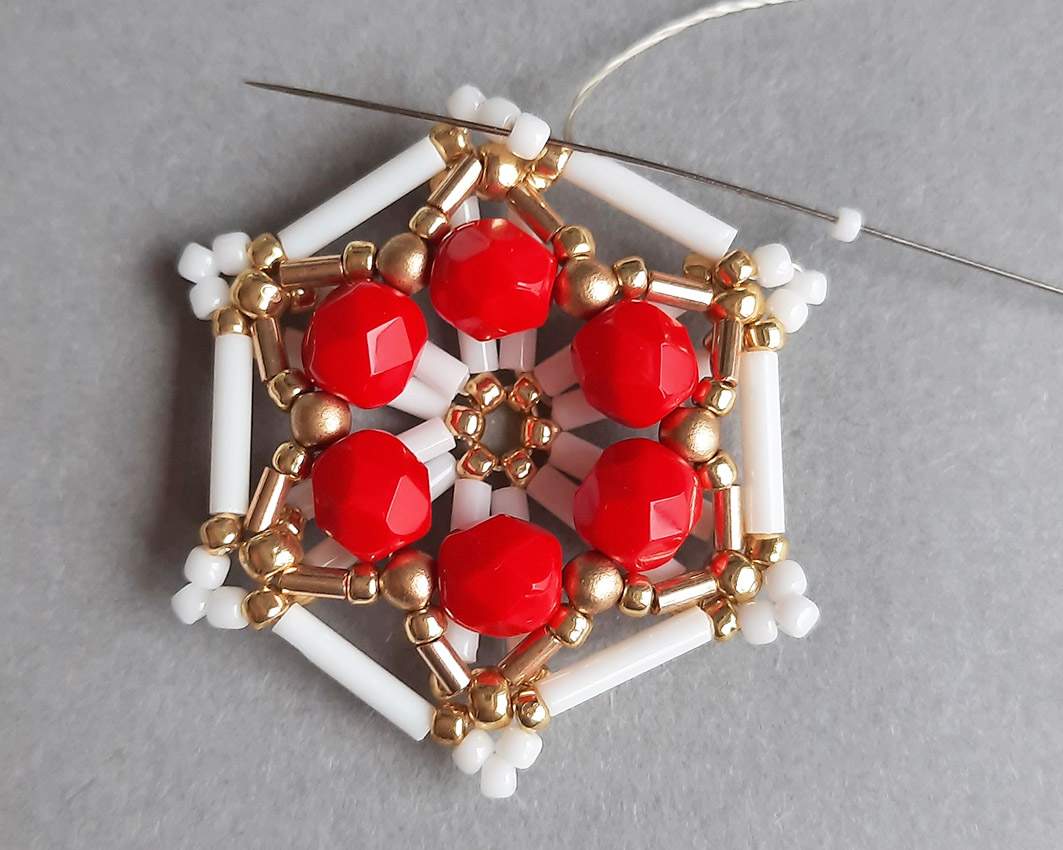
Step 7.
Pick up one A 11/0, one 9 mm bugle bead, one A 11/0 and sew through the next 8/0 along the outer edge
(figure 12).
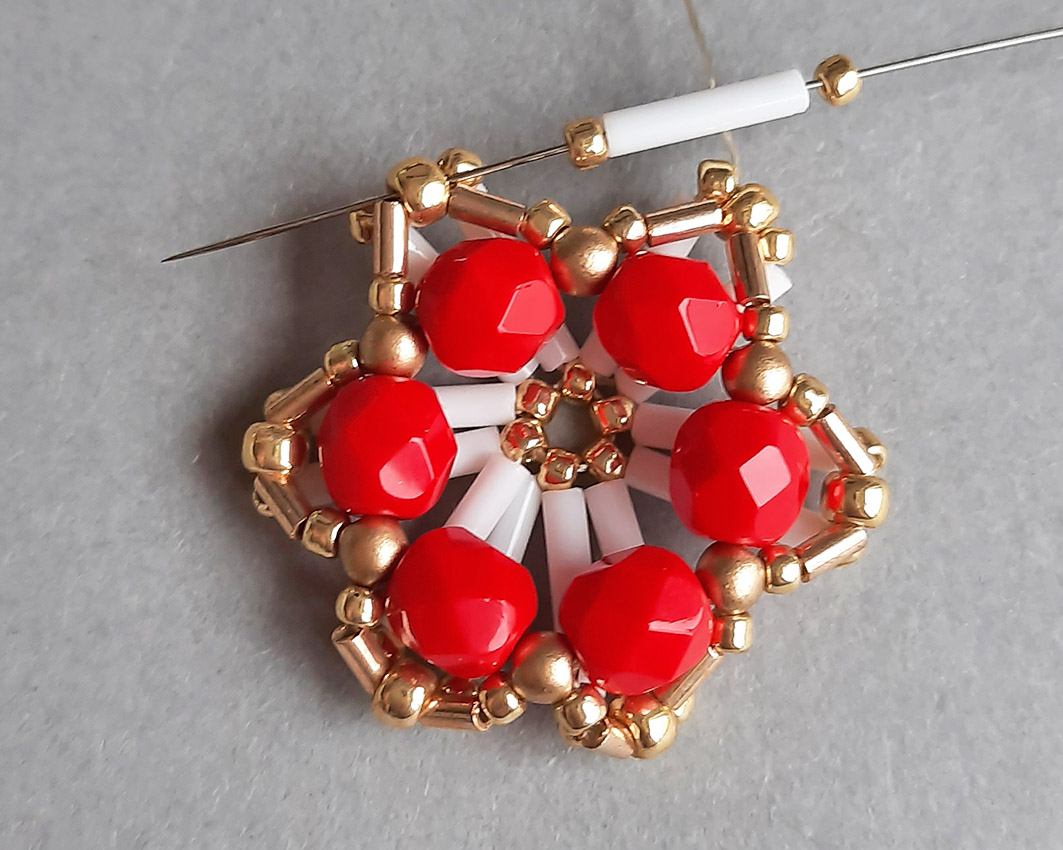
Repeat five more times. Step up through the first added three beads (one A 11/0, one 9 mm bugle bead, one A 11/0) (figure 13).

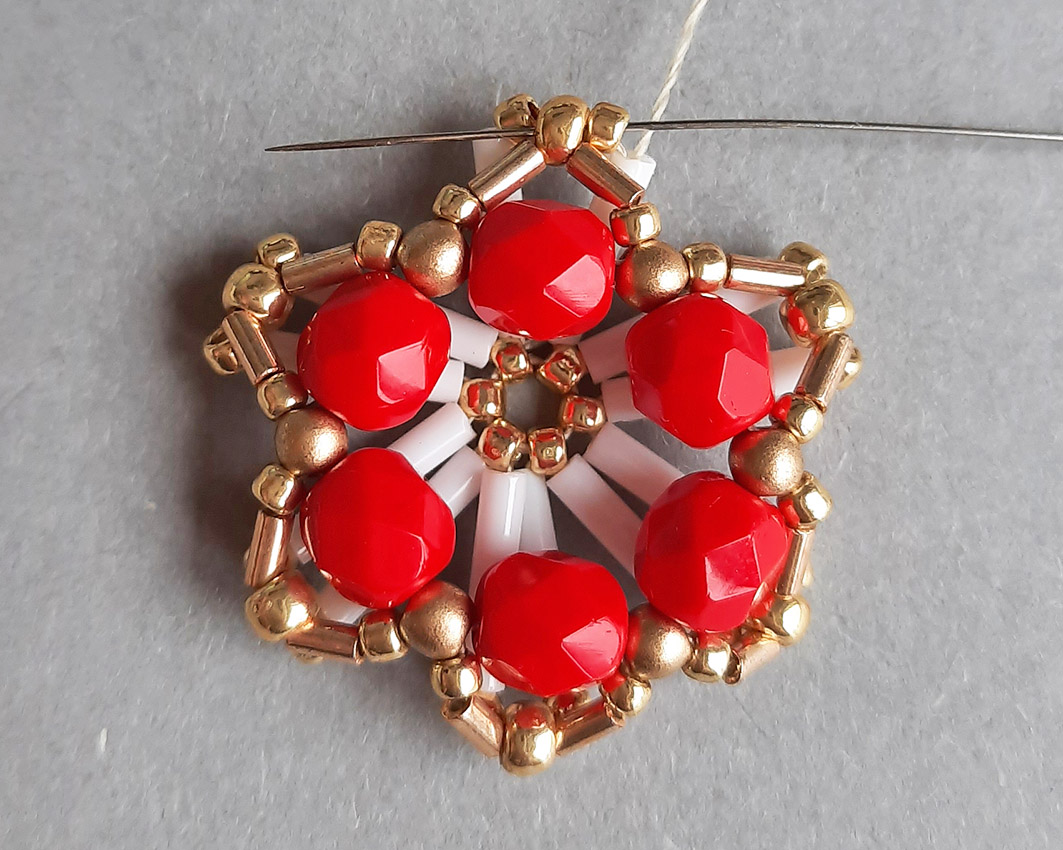
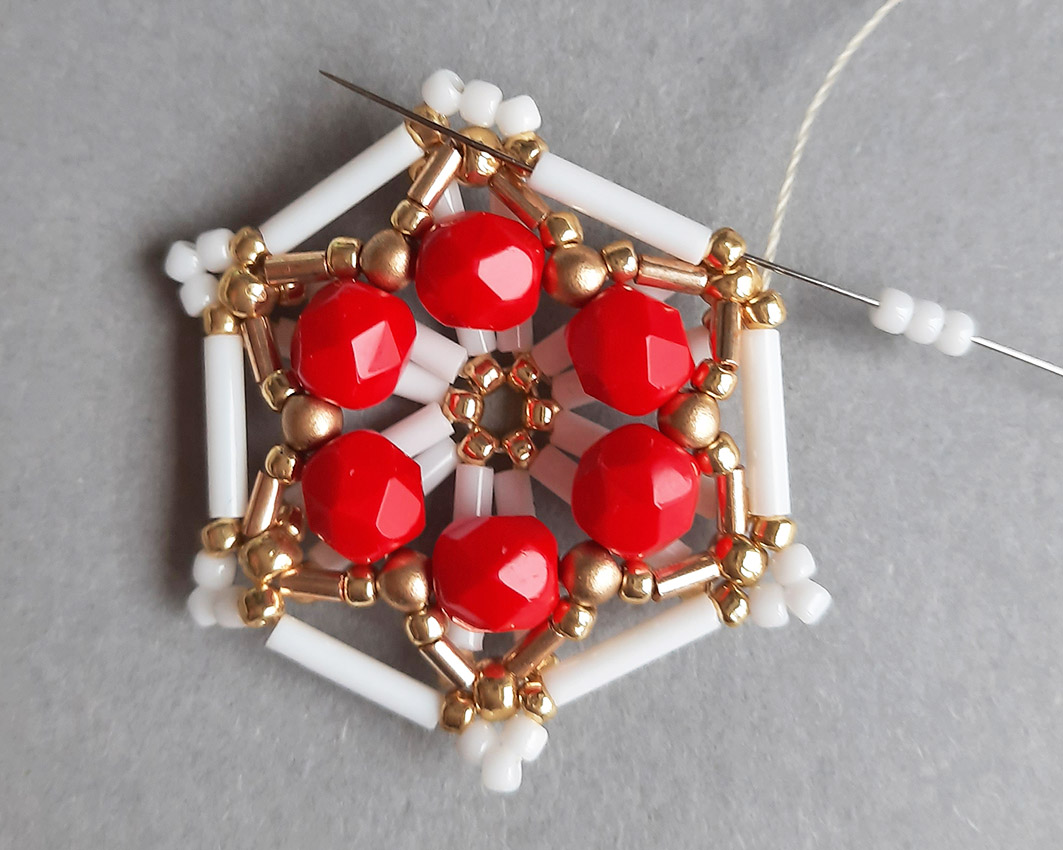
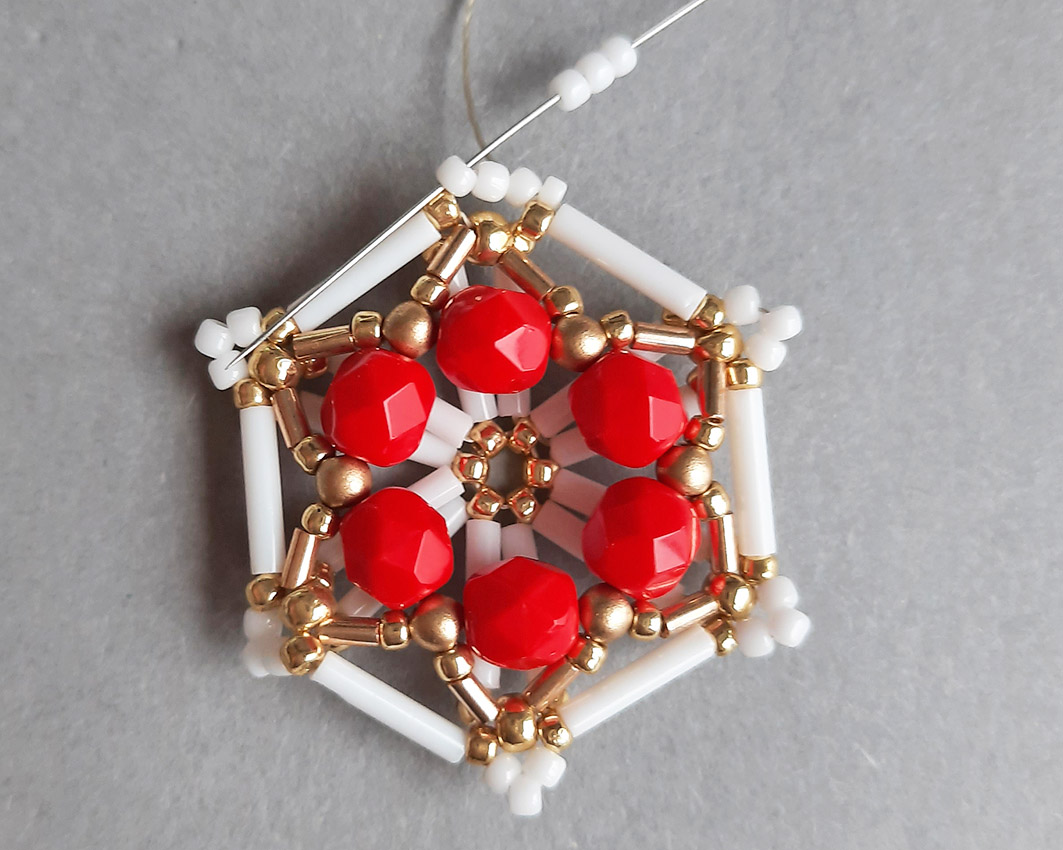
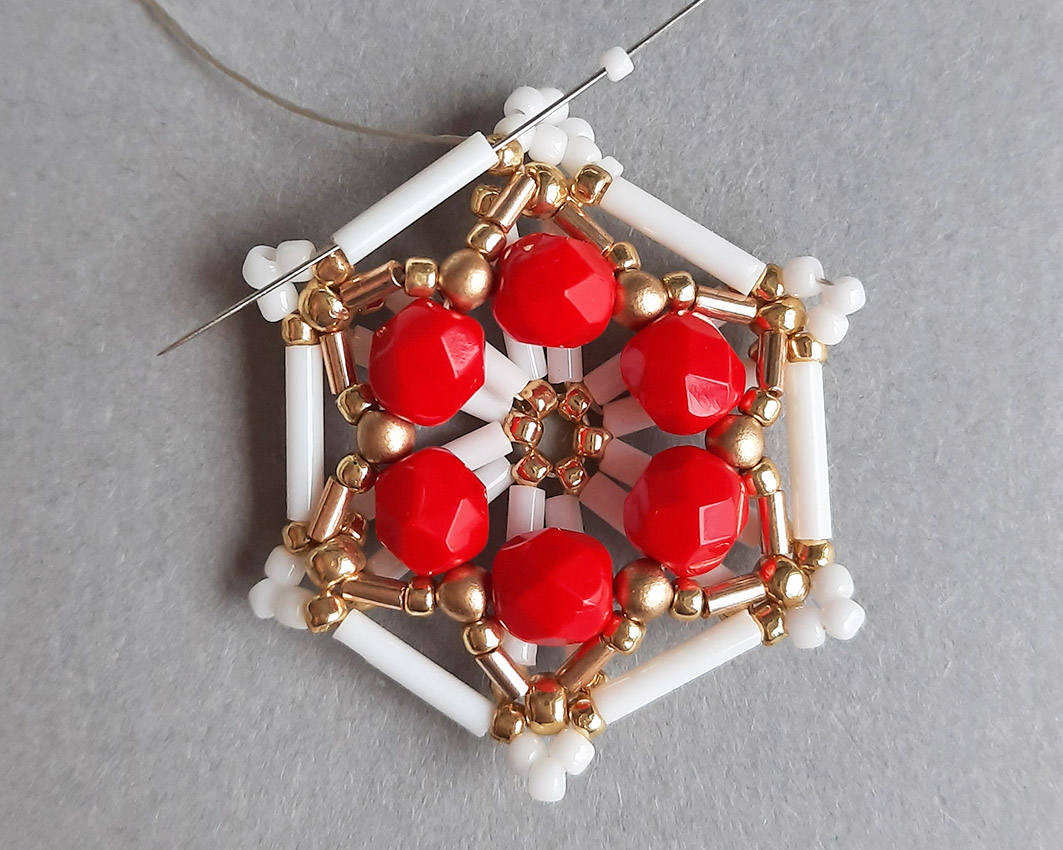
Step 8.
Pick up three B 11/0s and sew through the next group of three beads added in the previous row (one A 11/0, one 9 mm bugle bead, one A 11/0) (figure 14).
Repeat five more times. Exist from two beads of the last group of three beads added in the previous row (one A 11/0, one 9 mm bugle bead) (figure 15).
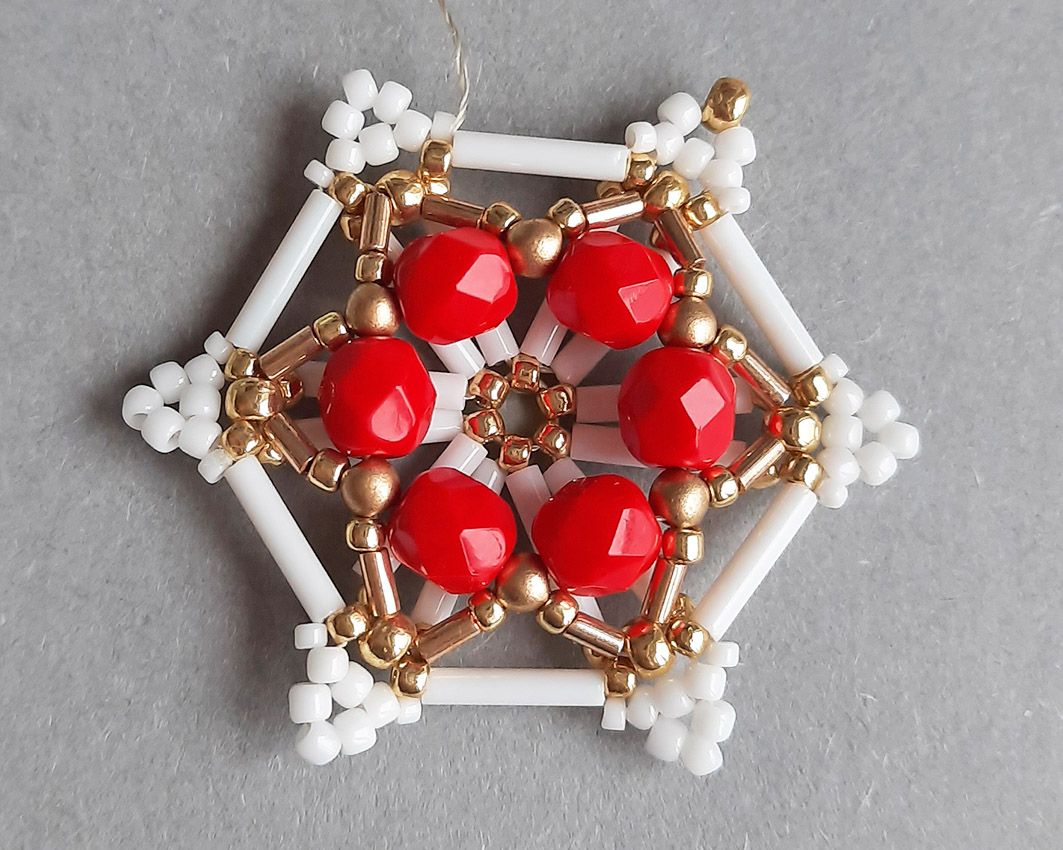
Step 9.
Pick up one D 15/0 seed bead, pass over the next A 11/0, and sew through the following C 11/0 (figure 16). Pull up the thread making sure all three C 11/0s form a straight line (the middle bead should fall down in the gap from the middle and if it doesn’t push it slightly down with your finger).
Pick up three A 11/0s, pass over the next A 11/0 and sew through the following
A 11/0 (figure 17).
Pick up one D 15/0 and sew through the next 9 mm bugle bead (figure 18).
Repeat all instructions from this step five more times. When making the last picot, pick up one C 11/0, one B 8/0 and one C 11/0 instead of three C 11/0s (figure 19). The 8/0 will serve to attach the ear hook to the earring.
Step10.
Using a flat nose pliers open one jump ring and take it through the 8/0 from the picot on the outer edge of the earring and through the ear wire ring and close it (figure 20).
********************
The PDF version of this free tutorial can be downloaded HERE.
********************
More FREE BEADING TUTORIALS are available HERE.