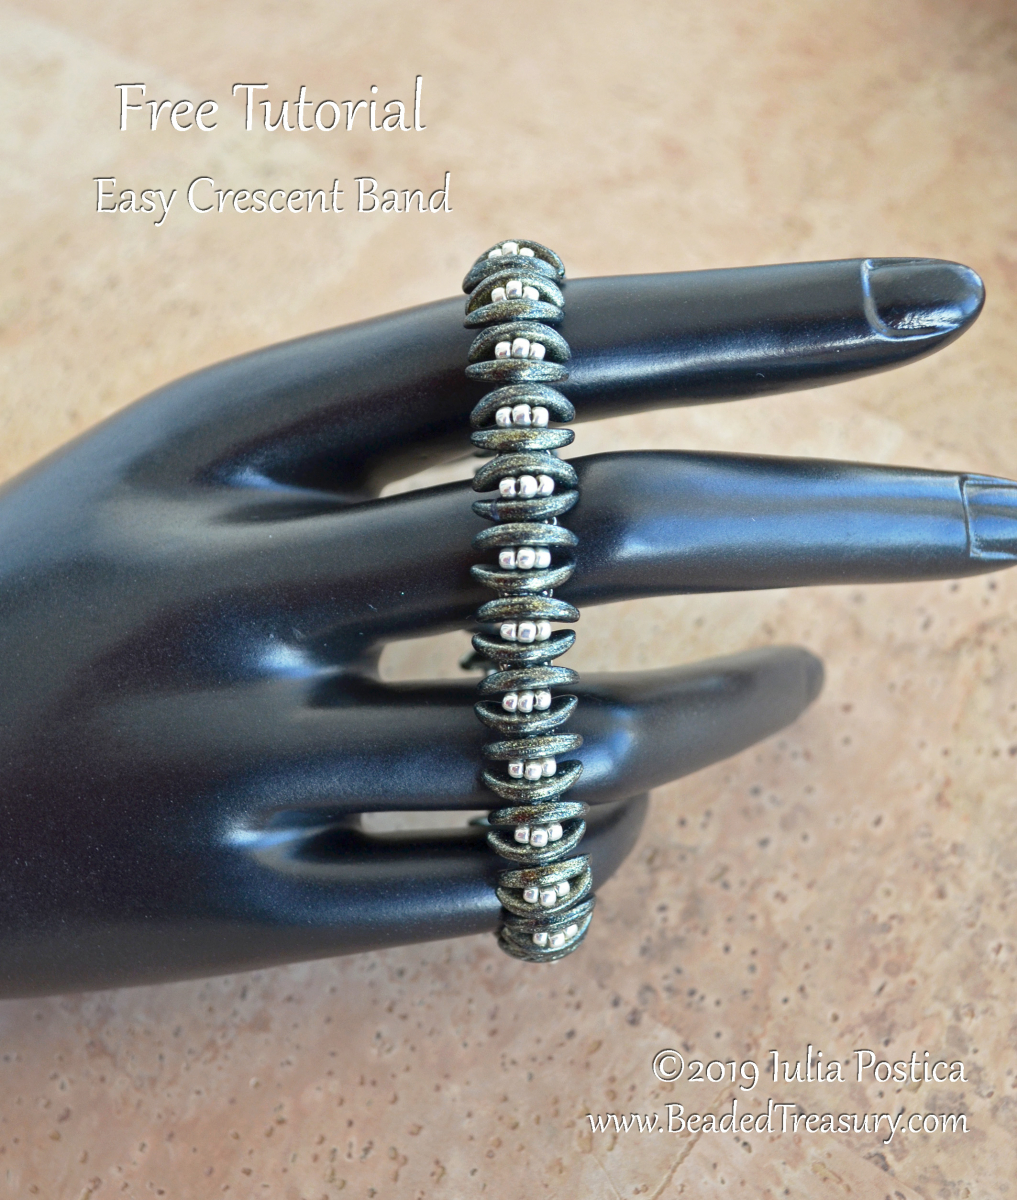
Easy Crescent Band
Free Beading Tutorial
An original BeadedTreasury Design (© 2019 Iulia Postica. All rights reserved). This pattern is for personal use and small group teaching. It cannot be sold, republished (online and off-line), redistributed, translated without permission, or edited in any way – in part or in whole. Please always credit me as a designer. Thank you!
********************
Techniques: Beadweaving
Project Level: Beginner
Materials
50 Polychrome Gold Rush 3x10mm two hole Czechmates Crescent beads
1.5 gr. Permanent Finish Galvanized Aluminum size 11/0 Toho seed beads (PF558)
1 8mm magnetic clasp
One G beading thread, black
Tools
Size 11 or 12 beading needle
Scissors
Finished Size
Width – 10 cm (4 inches)
Length – 19 cm (7.5 inches)
********************
INSTRUCTION
Step 1.
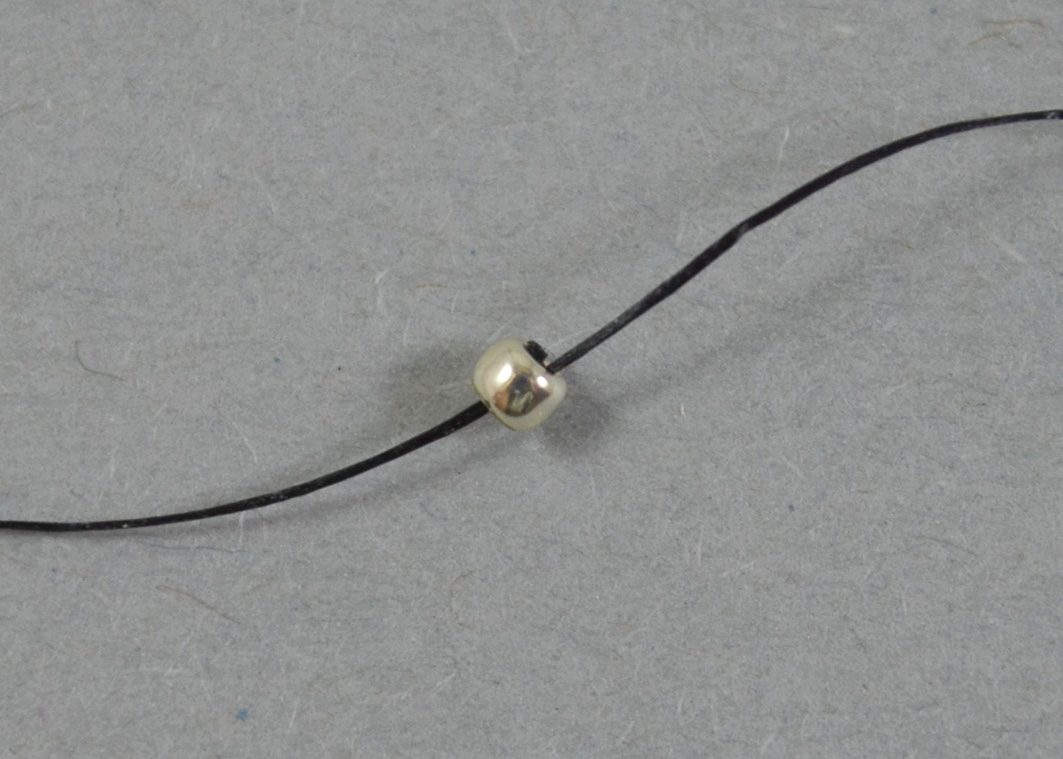
Cut 150 cm (60 inches) piece of thread. Thread the needle. Put a stop bead.
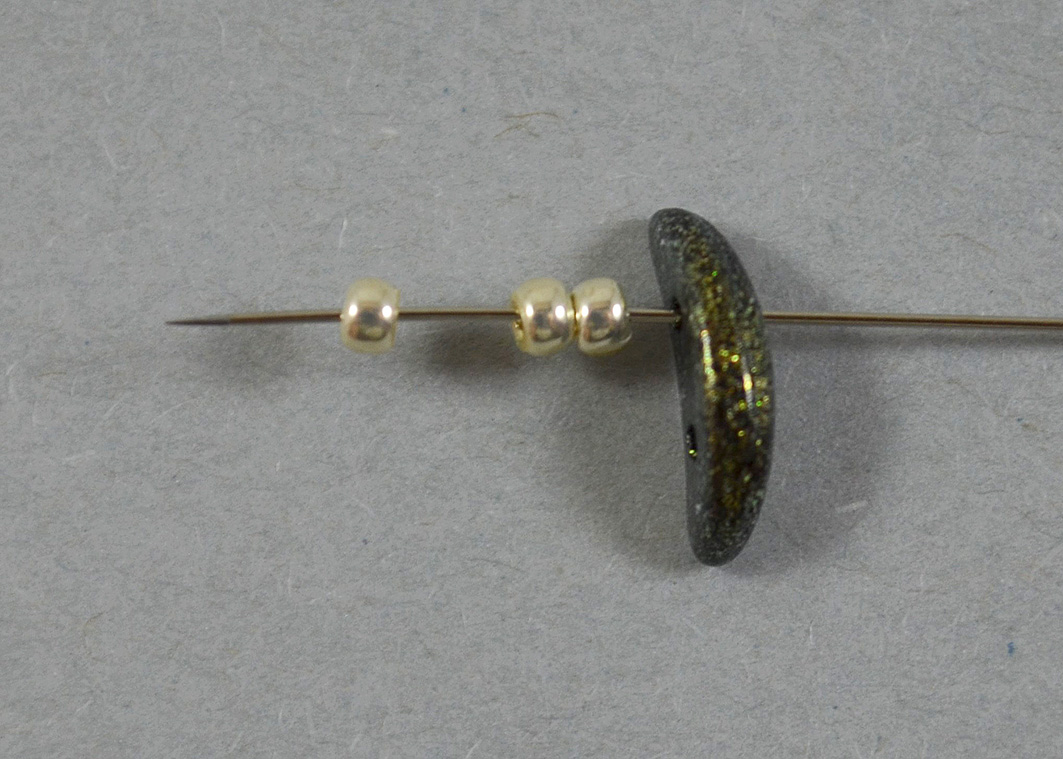
Step 2.
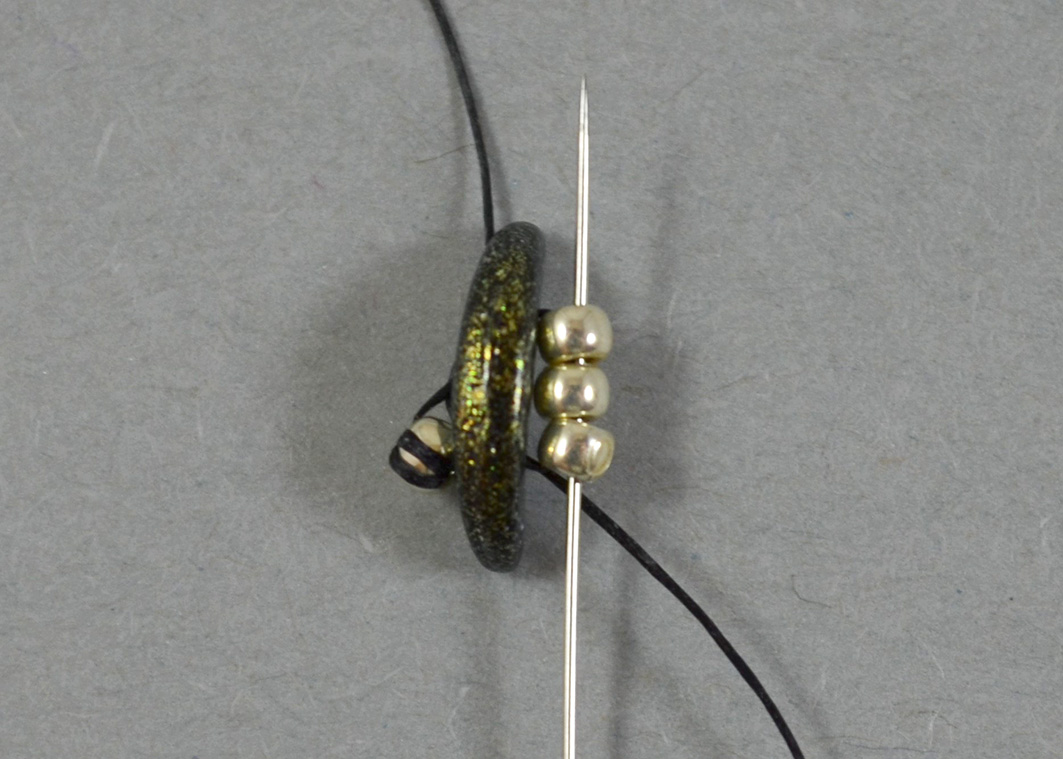
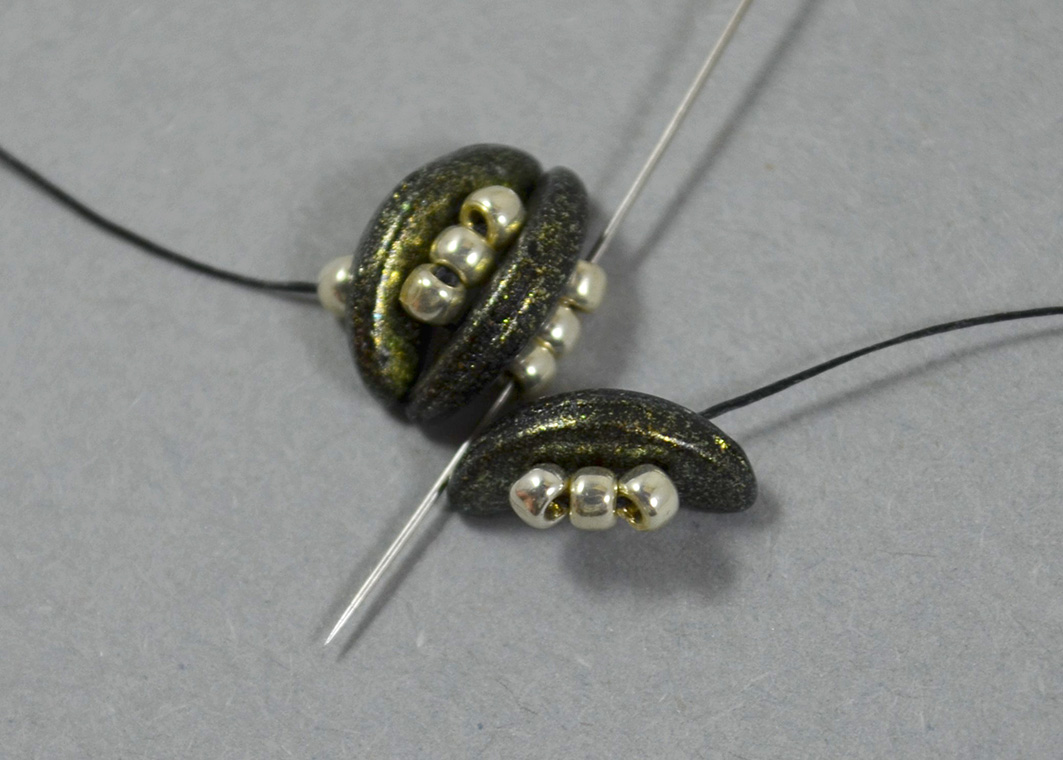
Pick up one Crescent bead and three 11/0 seed beads. Slide the beads down the thread leaving a 15 cm 6-inch) tail (we will use the tail in the end of the work).

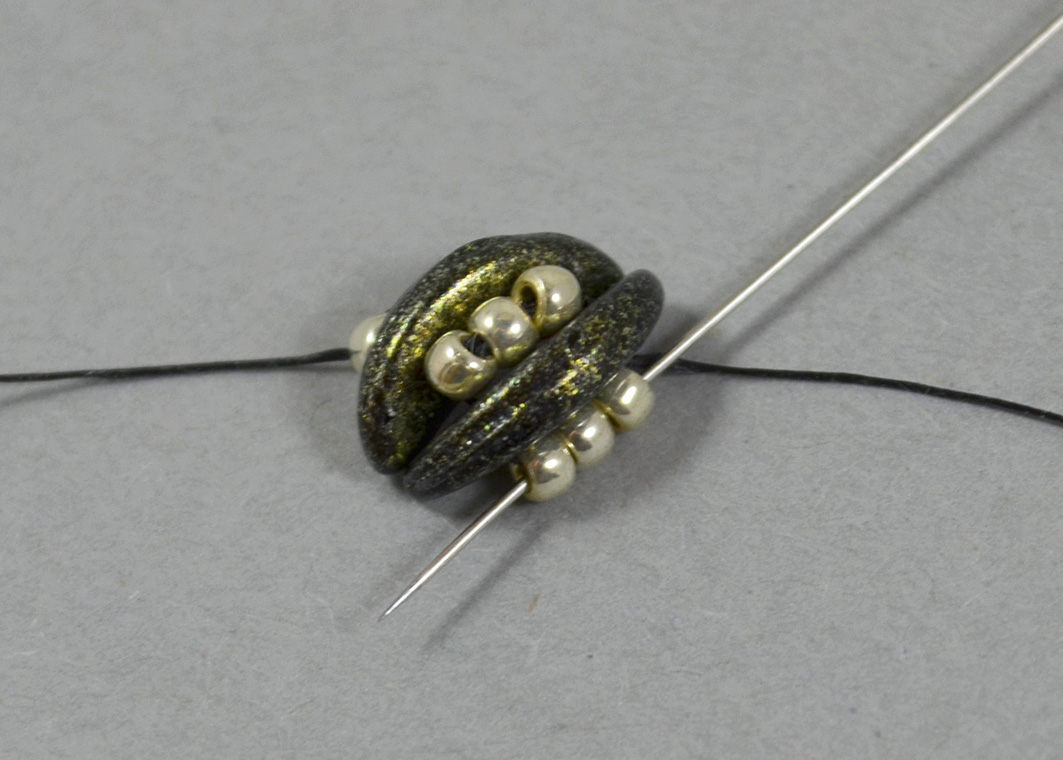
Step 3.
Sew back through the second free hole of the Crescent bead.
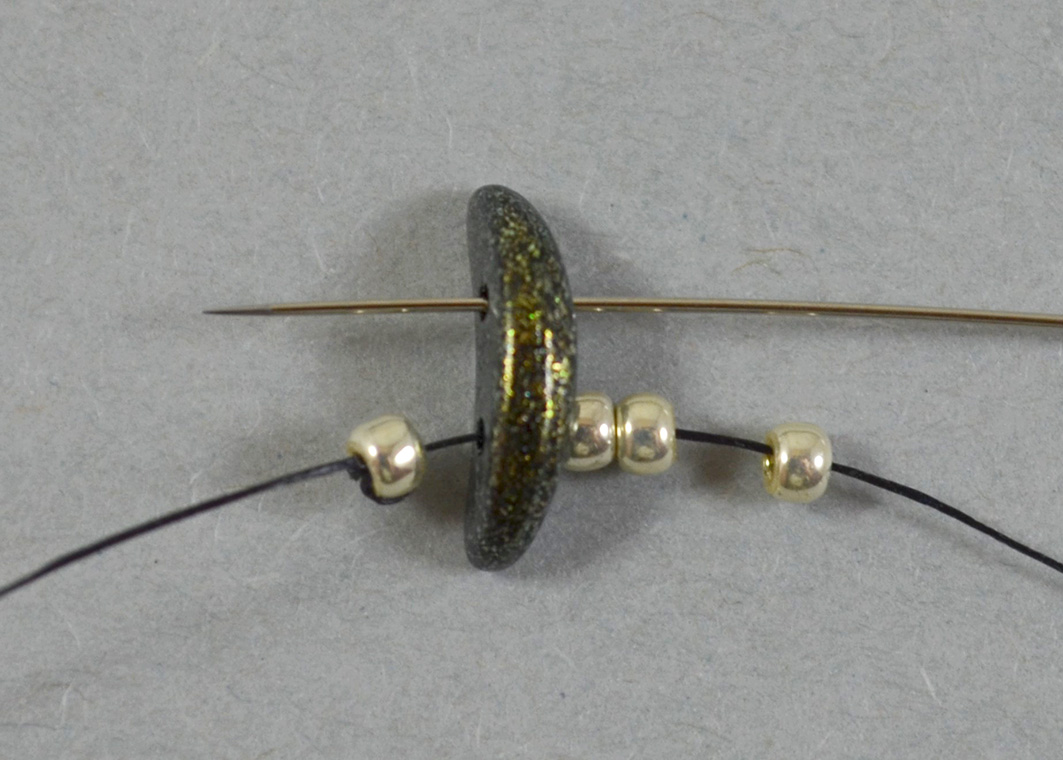
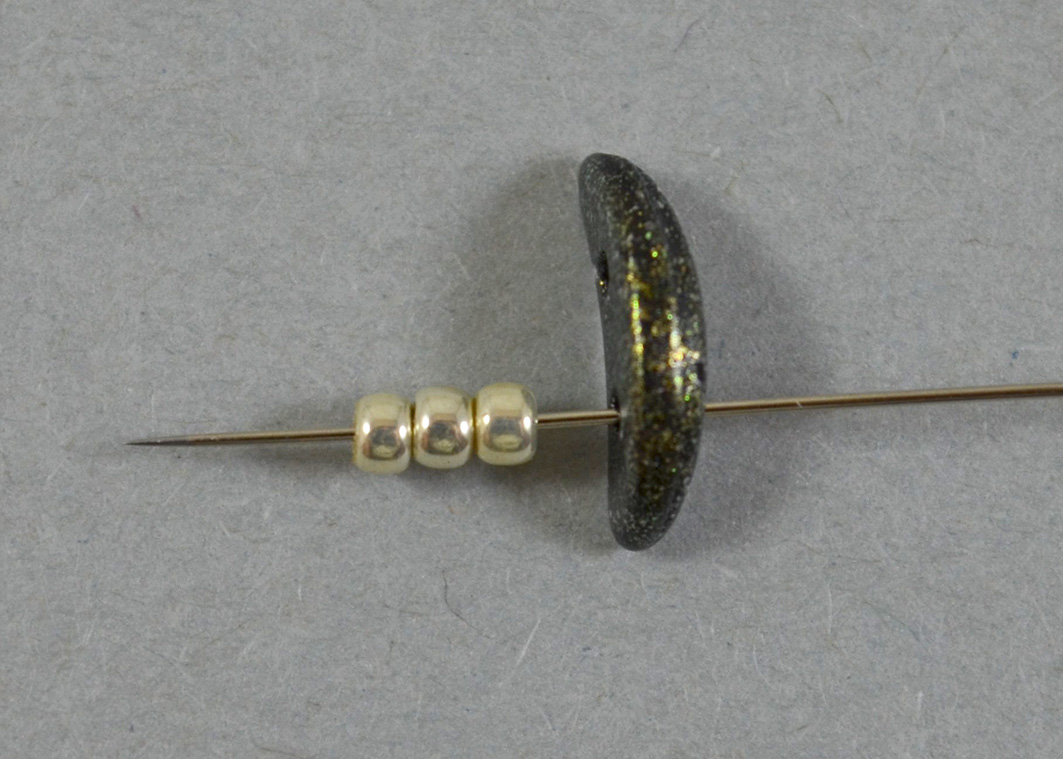
Sew again through the Crescent bead.
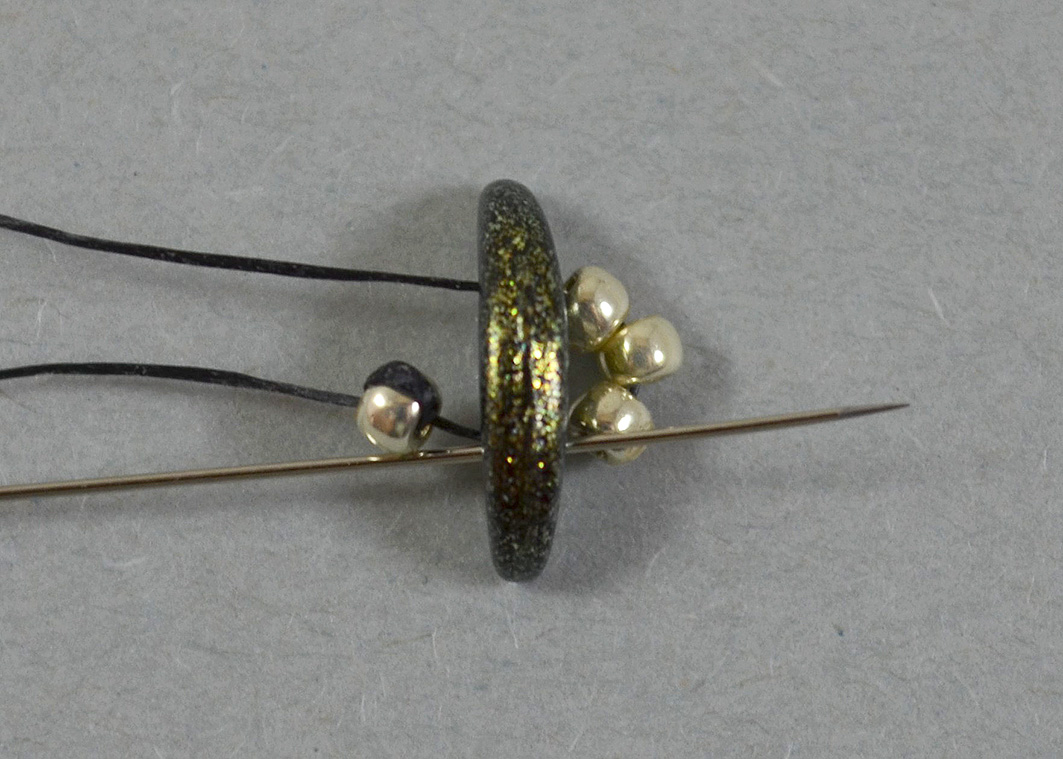
Sew through the three 11/0 seed beads.
Step 4.
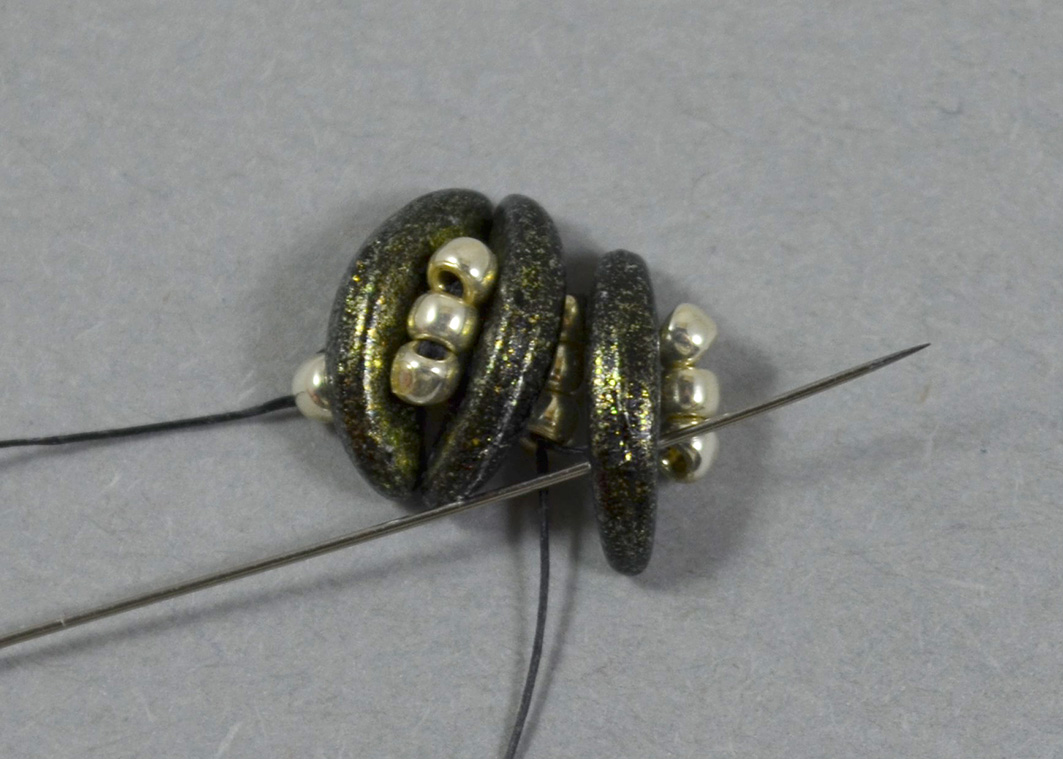
Pick up one Crescent bead and three 11/0 seed beads.
Step 5.
Sew back through the second free hole of the last added Crescent bead.
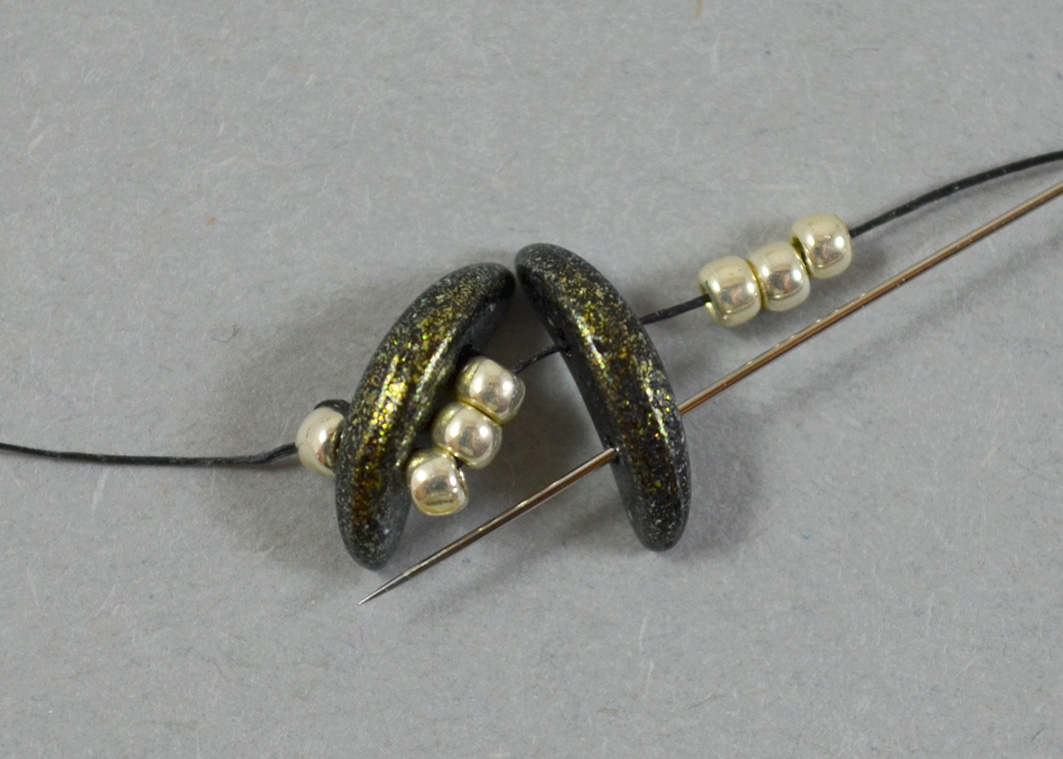
Sew through the three 11/0 seed beads which are in between the Crescent beads.
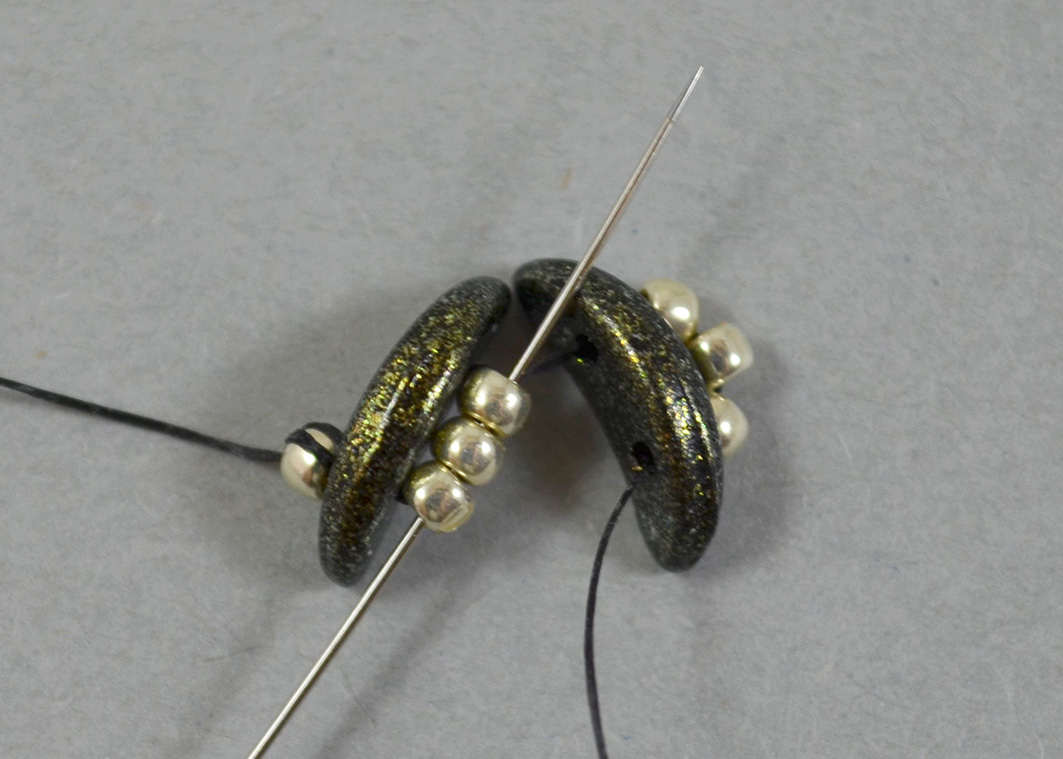
Sew again through the last added Crescent bead.
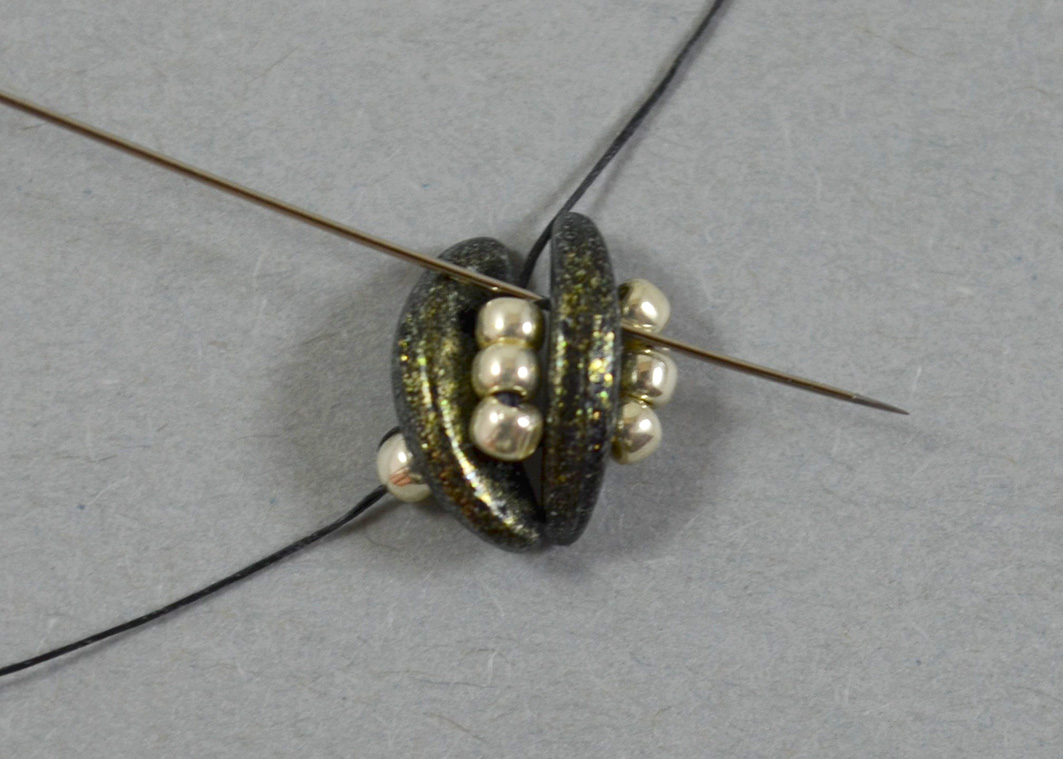
Sew through the last added group of three 11/0 seed beads.
Step 6.
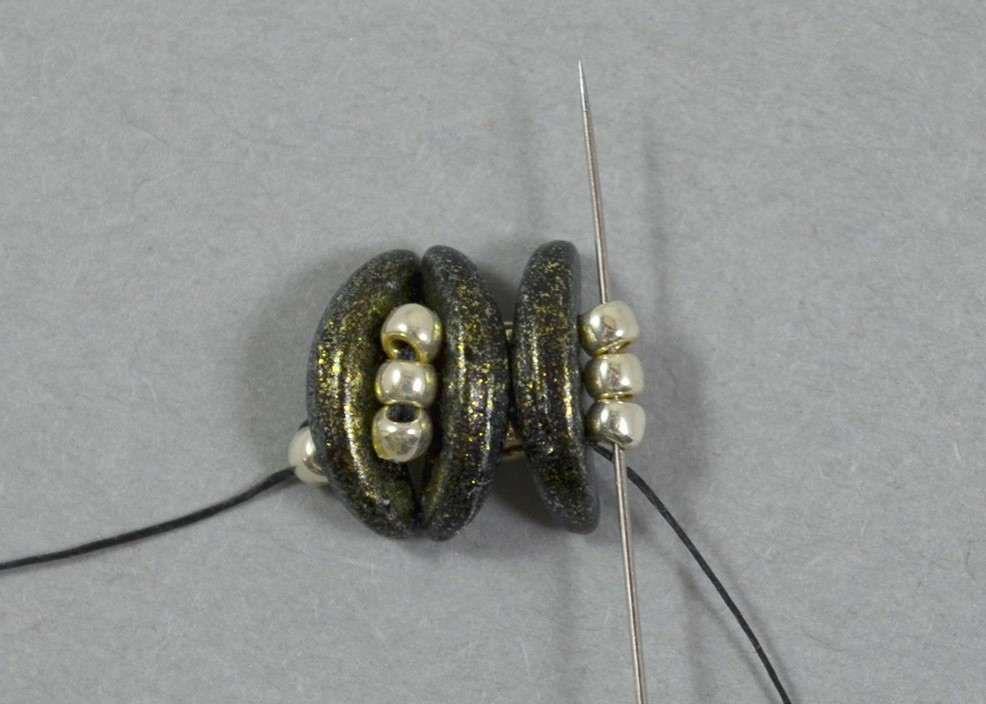
Pick up one Crescent bead and three 11/0 seed beads.
Step 7.
Sew back through the second free hole of the last added Crescent bead.
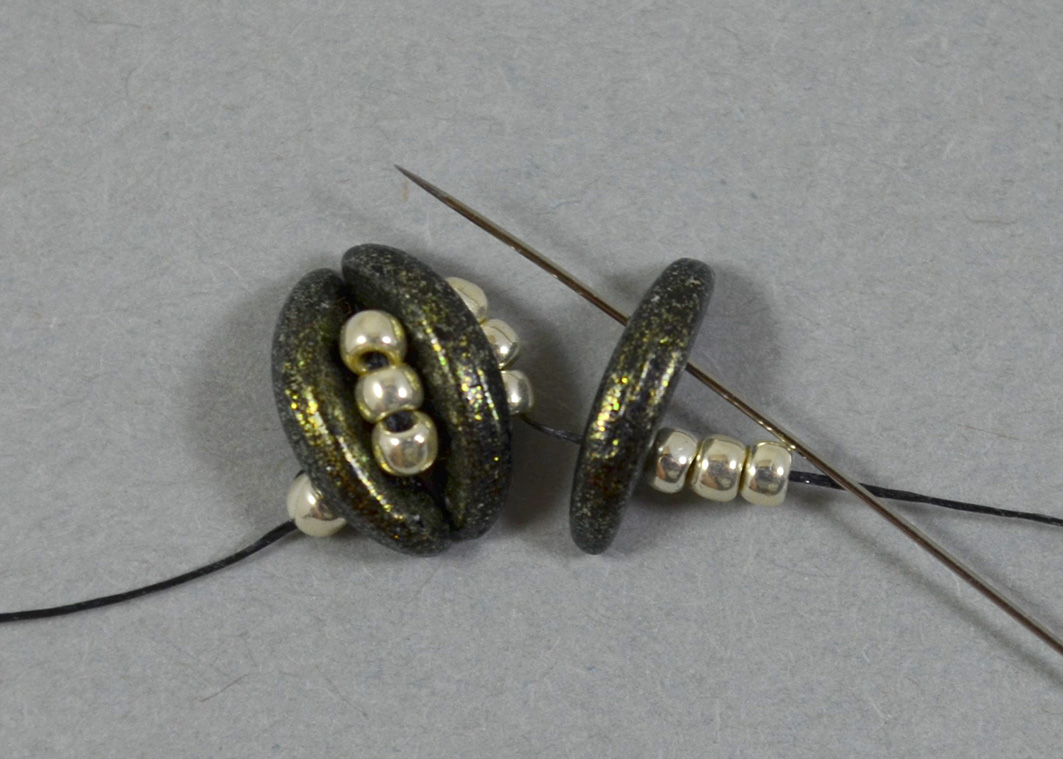
Sew through the group of three 11/0 seed beads which are in between the Crescent beads.
Sew again through the last added Crescent bead.
Sew through the last added group of three 11/0 seed beads.
Step 8.
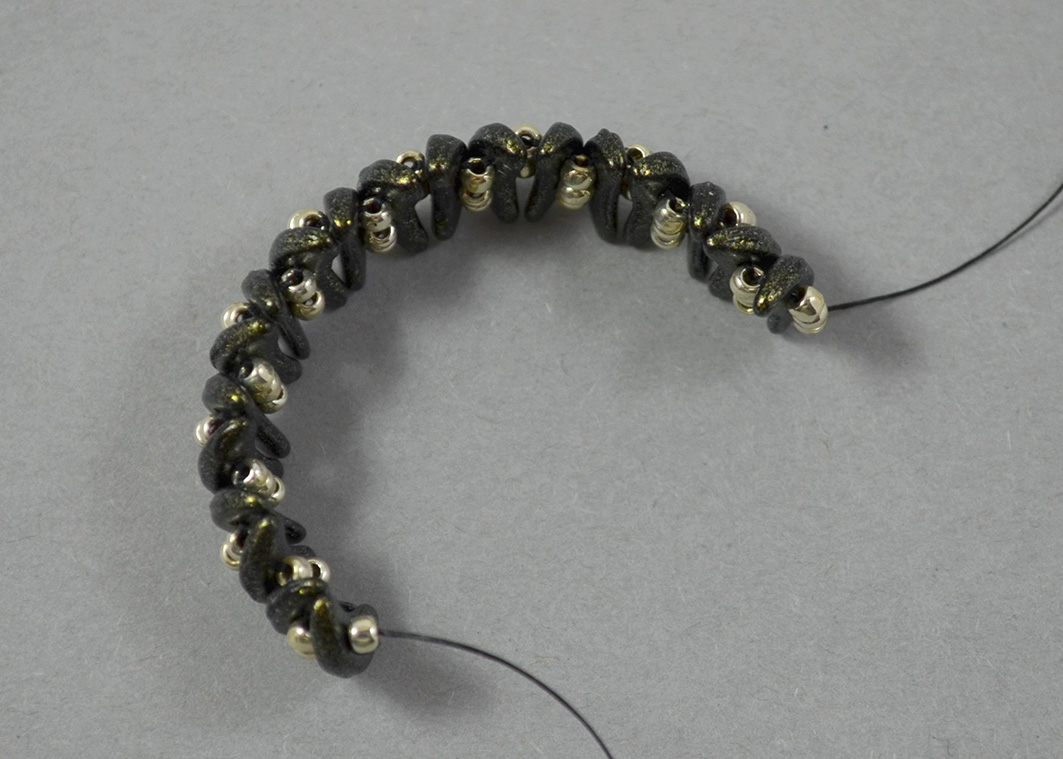
Continue beading using instructions from Step 4 through Step 7 to create a bracelet of the desired length. Regardless of the length you need, always use an even number of Crescent beads.
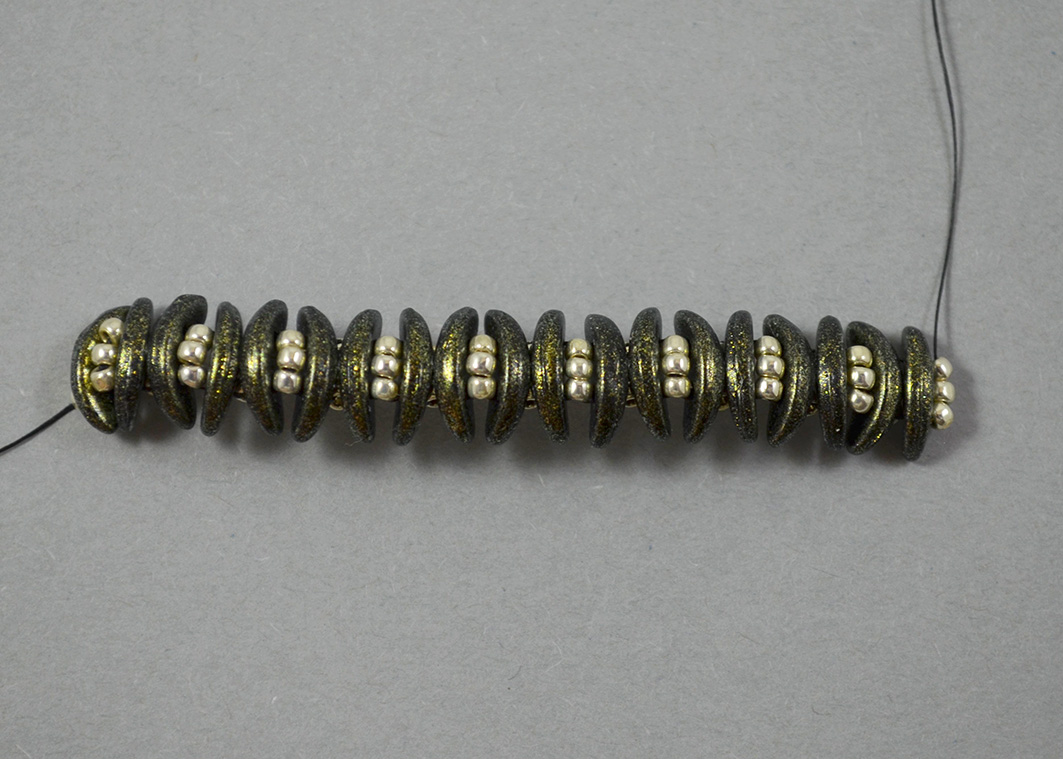
At a certain point the band will start to curl inward which is absolutely normal. This effect can be used to make a bangle instead of a bracelet with clasp if you love bangles more and they look nice on your wrist.
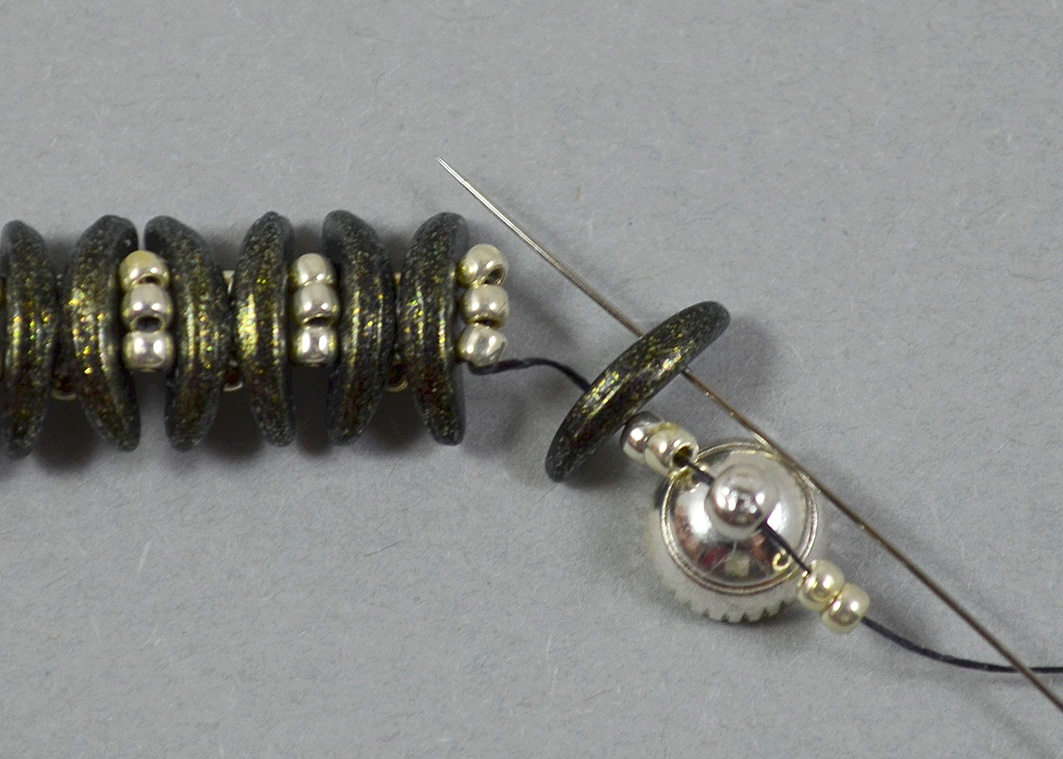
Step 9. Adding the magnetic clasp.
When you add the last Crescent bead, then, instead of picking up three 11/0 seed beads, pick up two 11/0 seed beads, one half of the magnetic clasp, and two 11/0 seed beads.

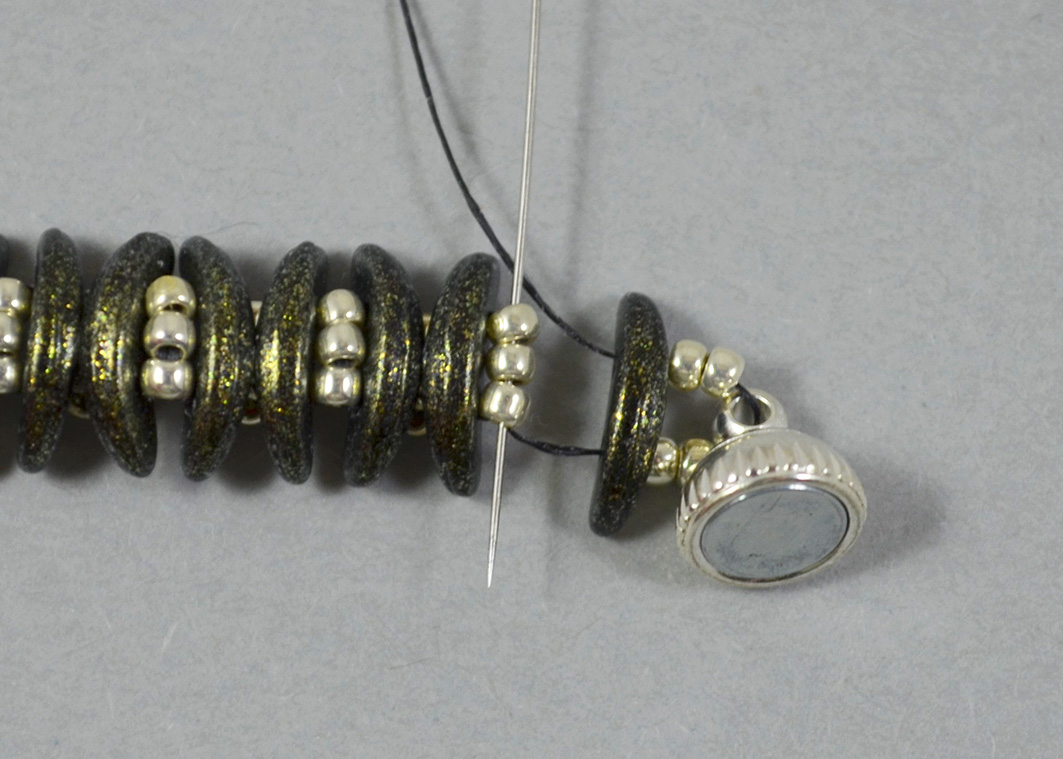
Continue as usually: go through the second free hole of the last added Crescent bead.
Sew through the group of three 11/0 seed beads. Then go with the needle again into the loop holding the magnetic clasp to give it more strength. Hide the thread end into the beadwork and cut the excess.
Use the thread tail left in the beginning of the work to add the second half of the magnetic clasp of the other bracelet end.
********************
The PDF version of this beading tutorial can be downloaded HERE.
More FREE BEADING TUTORIALS are available HERE.