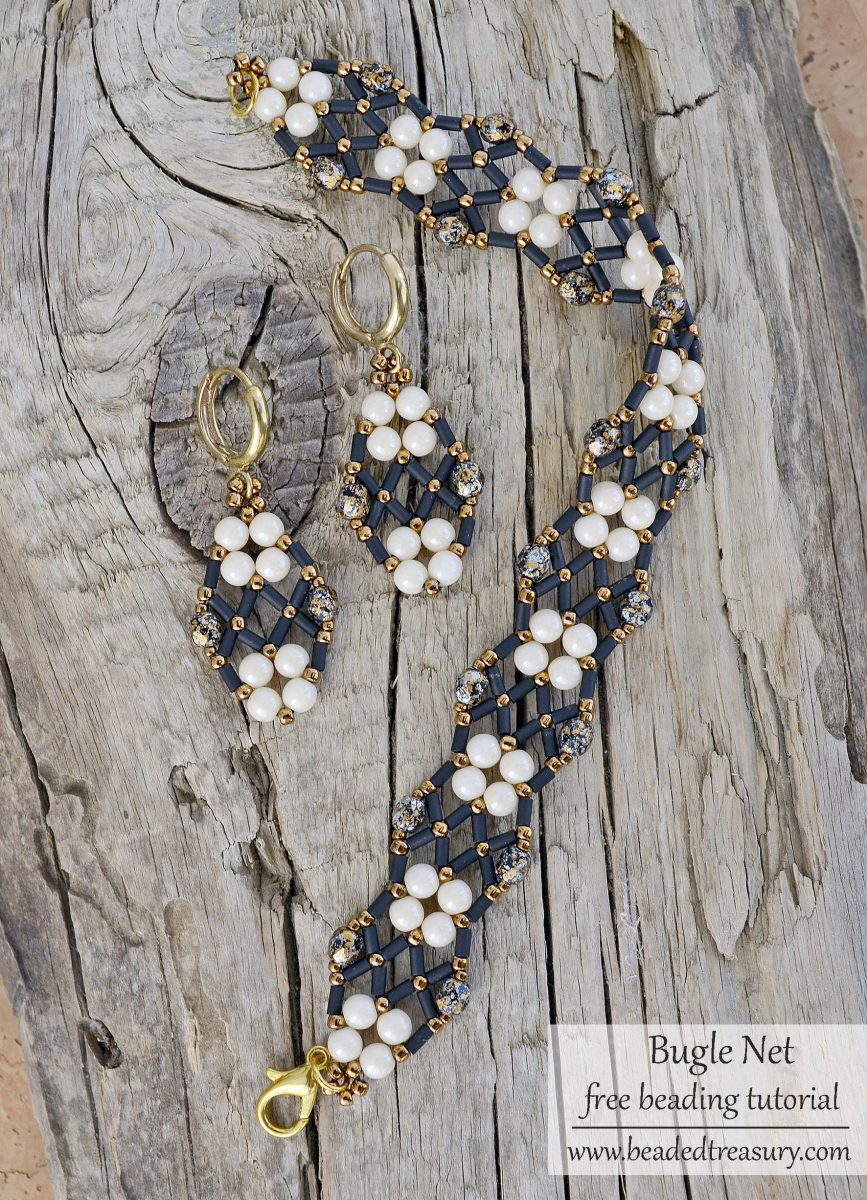
Bugle Net Earrings and Bracelet
Free Beading Tutorial
An original BeadedTreasury Design (© 2020 Iulia Postica. All rights reserved). This pattern is for personal use and small group teaching. It cannot be sold, republished (online and off-line), redistributed, translated without permission, or edited in any way – in part or in whole. Please always credit me as a designer. Thank you!
********************
Techniques
Beadweaving, Right angle weave
Project Level
Beginner
Materials
56 Opaque Beige Ceramic Look 4 mm Czech Pressed Glass Round Beads
1.5 gr. Black Matte 3mm bugle beads (Toho 49F)
2 gr. Bronze size 11/0 Japanese seed beads (Toho 221)
0.5 gr. Bronze size 15/0 Japanese seed beads (Toho 221)
22 Tweedy Orange 4mm Czech fire polished beads
Size D beading thread, black
1 pair brass leverback earring findings
2 8 mm brass split jump rings
1 12mm brass lobster clasp
Tools
Flat nose plier (to attach the findings)
Size 11 beading needle
Scissors
Finished Size
Bracelet length – 18.5 cm (7.4 inches)
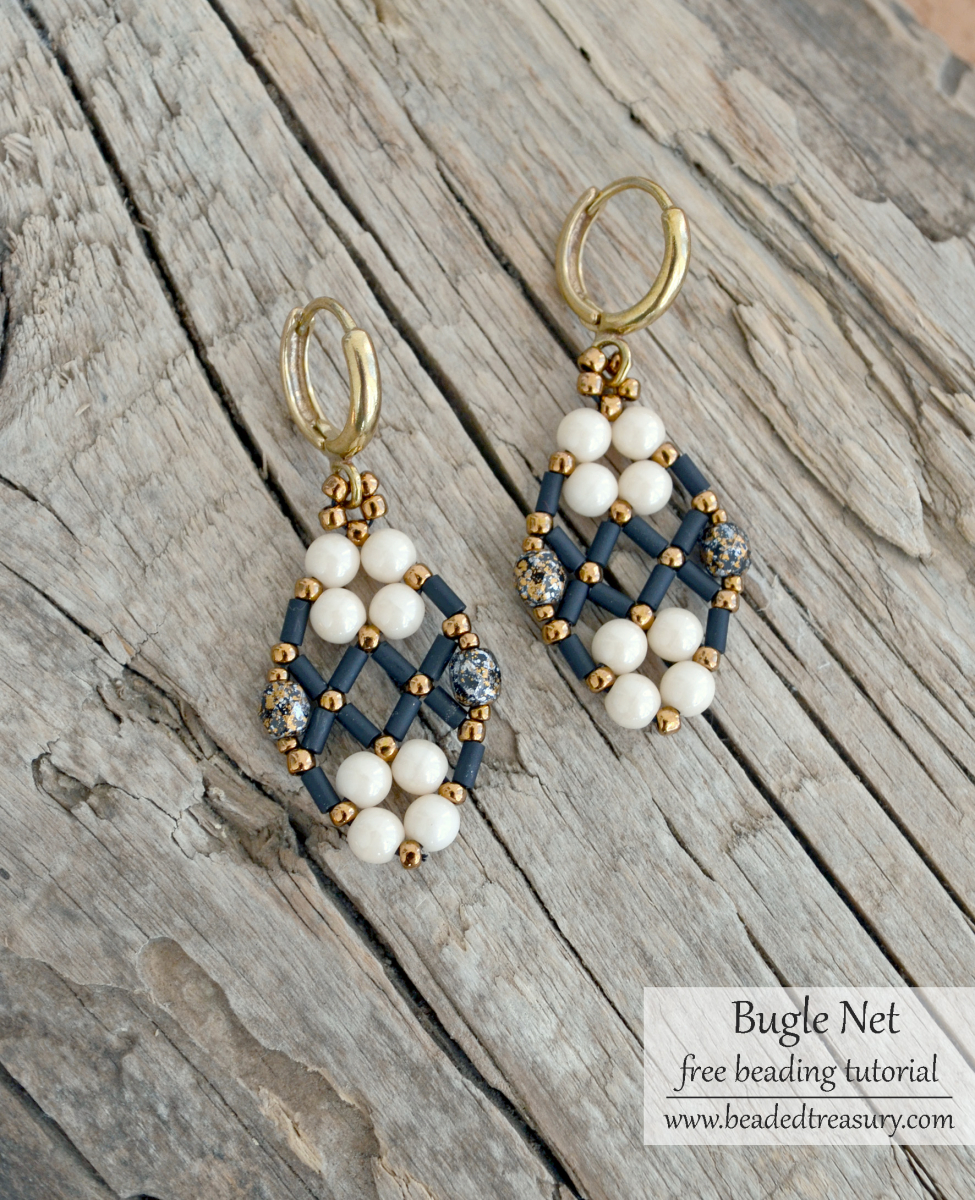
Earrings length – 4.3 cm (1.7 inches)
Width – 1.8 cm (0.7 inches)
********************
********************
INSTRUCTION
Step 1.
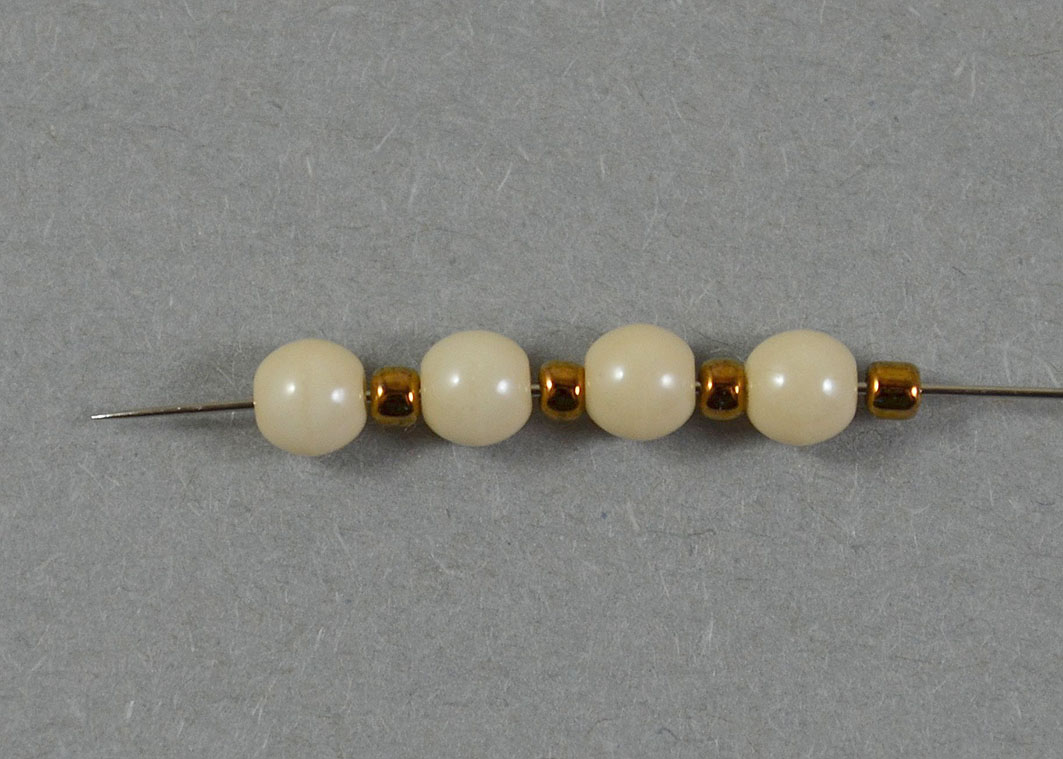
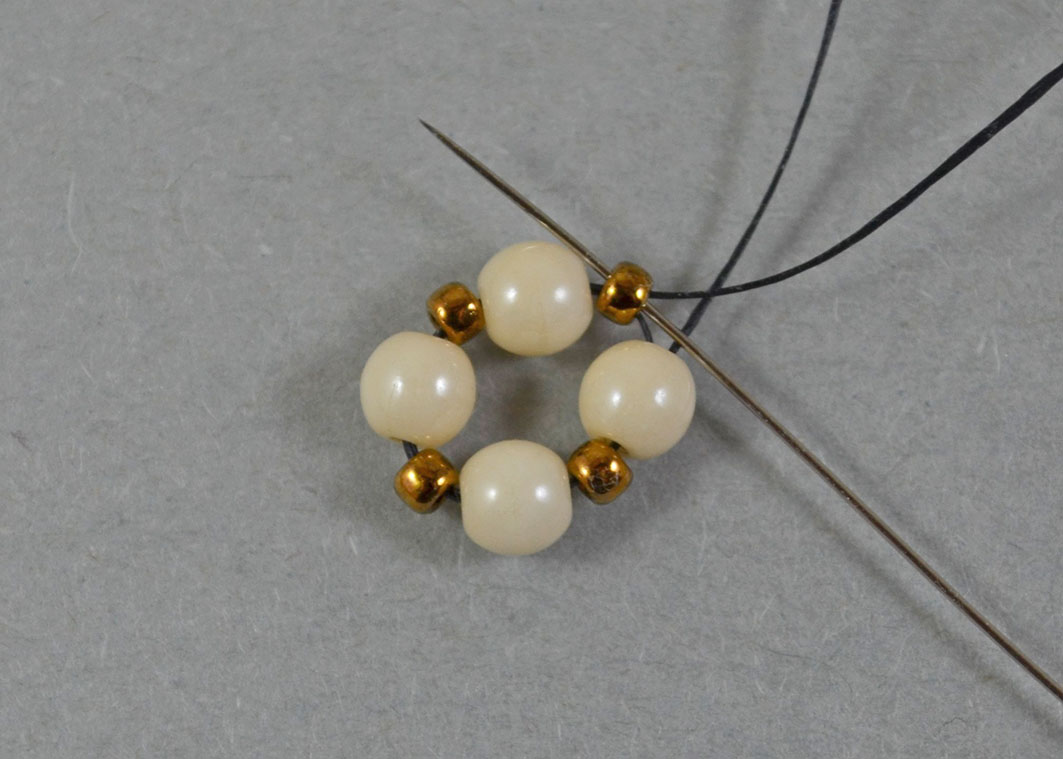
Cut about 210 cm (82.6 inches) piece of thread for the bracelet and 45 cm (17.7 inches) for each earring. Pick up one 11/0 seed bead and one 4 mm round bead four times. Slide them down the thread leaving about 7-8 cm (3-inch) tail.
Step 2.
Sew through the beads once again following the same direction.
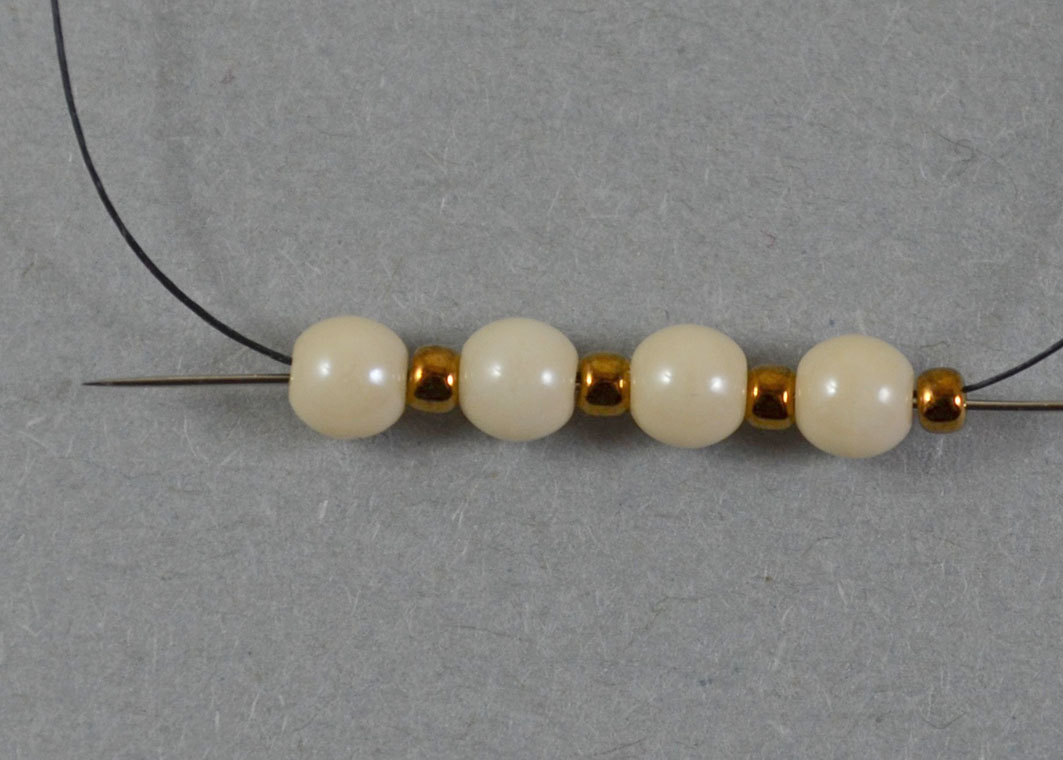
Pull the two thread ends to form the ring of beads. Sew three to four times through this ring and cut the short end. The working thread should exit from one of the 11/0 seed beads.
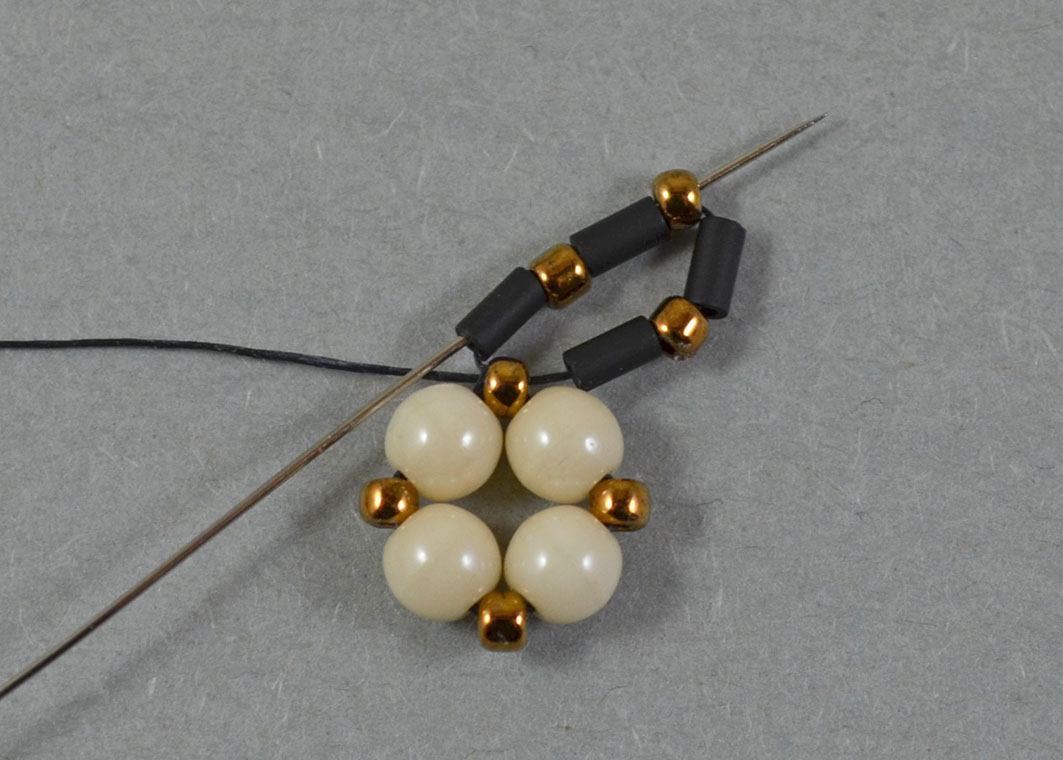
Step 3.
Pick up one bugle bead, one 11/0, one bugle bead, one 11/0, one bugle bead, one 11/0 and one bugle bead and sew through the 11/0 seed bead the from the ring (enter from the opposite side the thread exits).
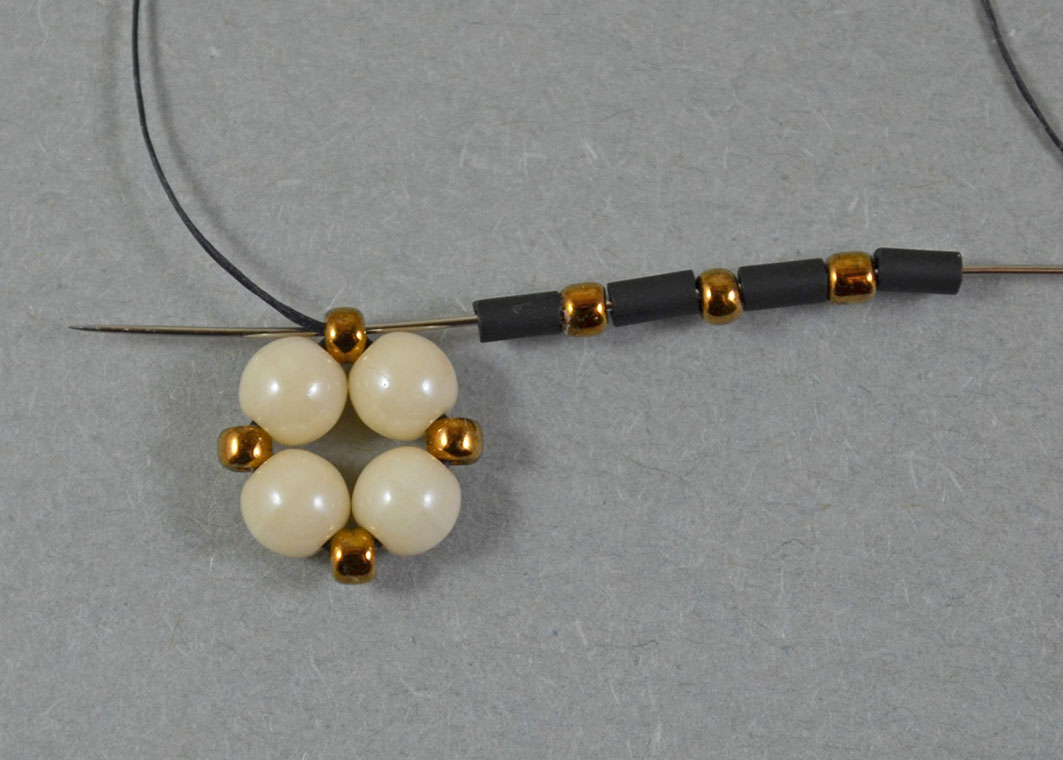
Sew through the next four beads (one bugle bead one 11/0, one bugle bead, one 11/0).
Step 4.
Pick up one 4 mm round bead, one 11/0, one 4 mm round bead, one 11/0, one 4 mm round bead, one 11/0, one 4mm round bead and sew through the 11/0 seed bead the thread is exiting (enter from the opposite side the thread exits).
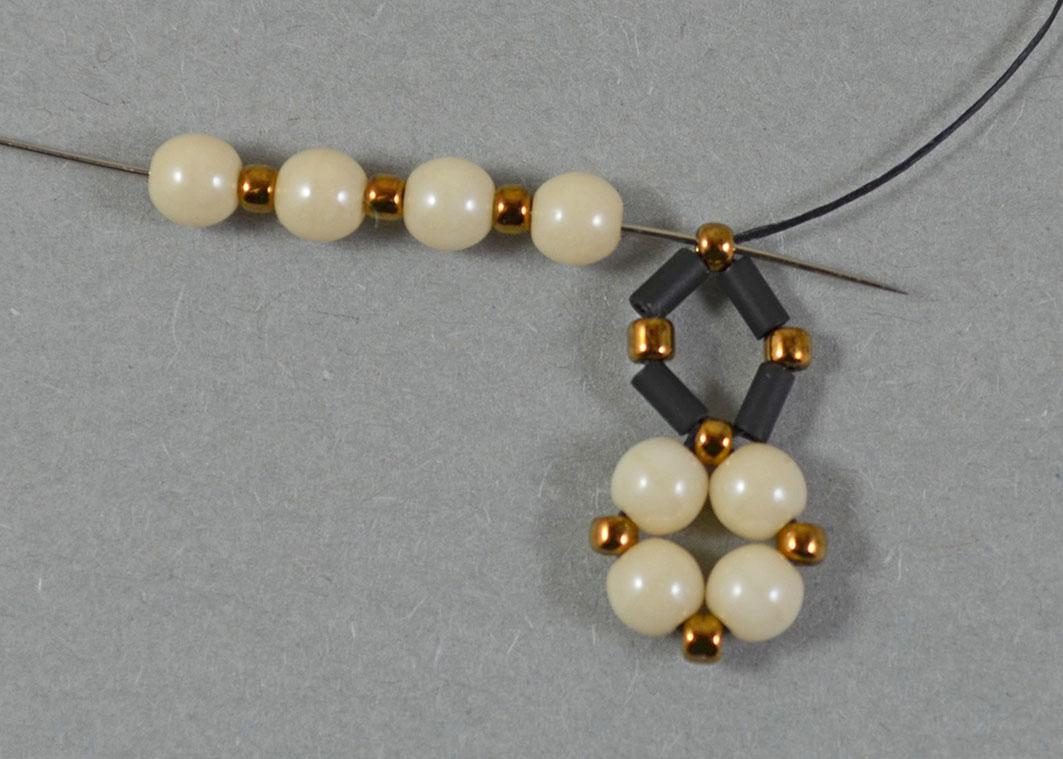
Sew through the next four beads (4 mm round bead, 11/0 seed bead, 4 mm round bead and 11/0 seed bead).
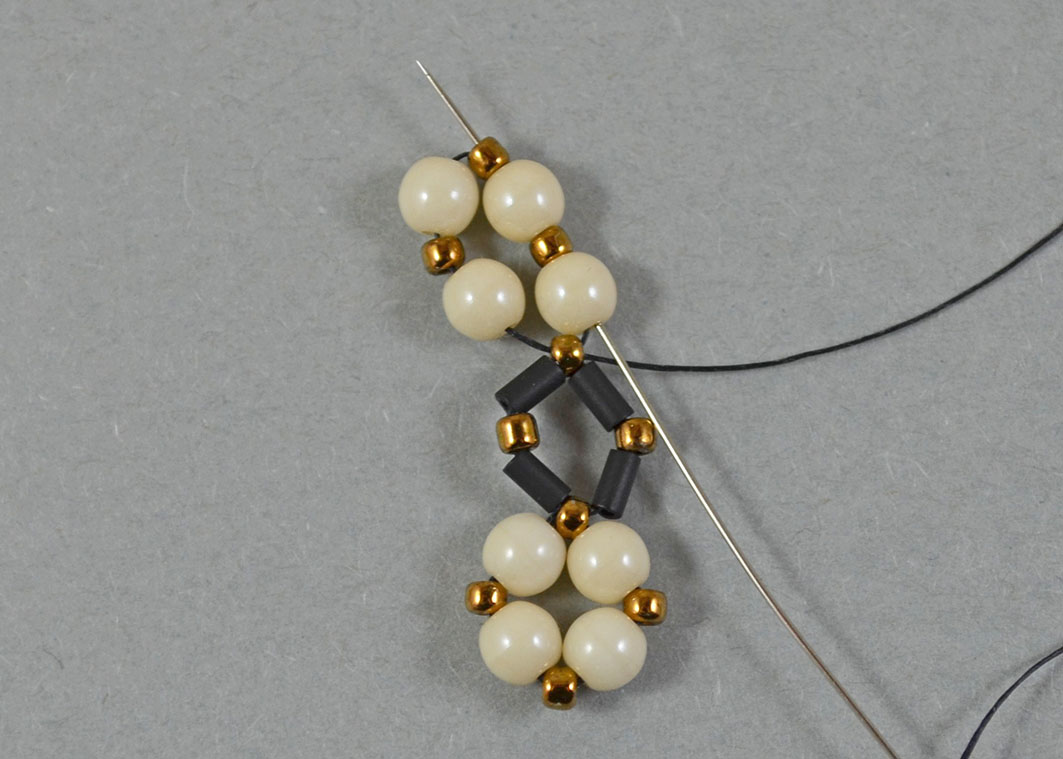
Sew through the next two beads (one 4 mm round bead and one 11/0 seed bead).

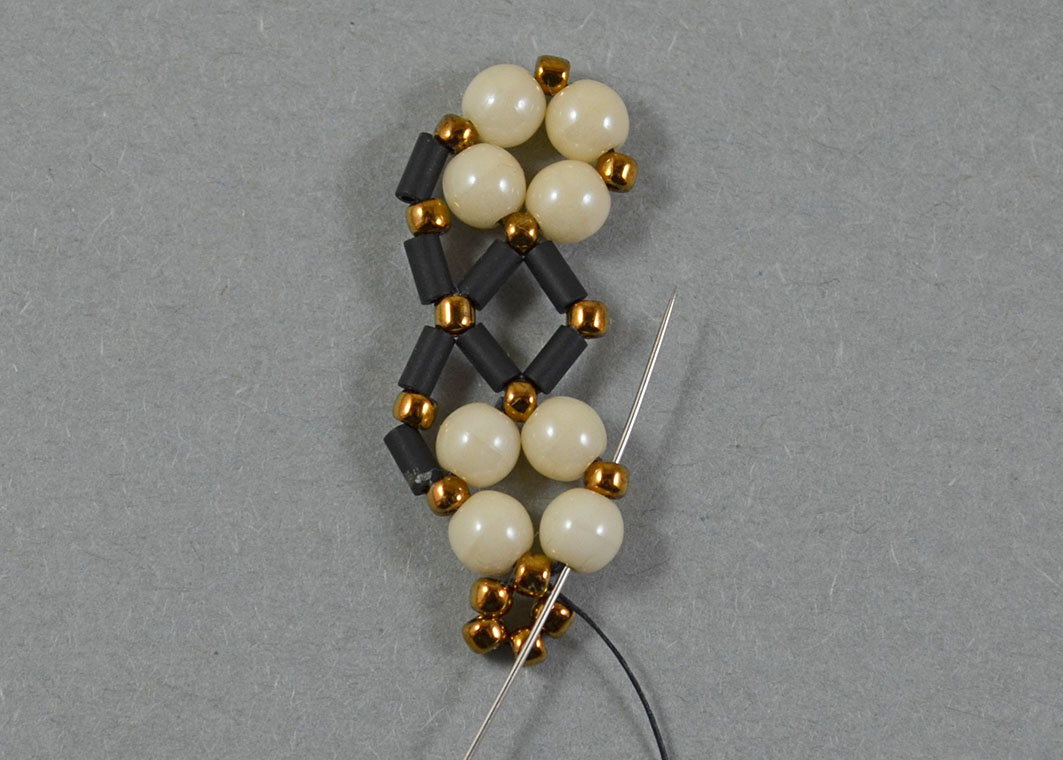
Step 5.
Pick up one bugle bead, one 11/0 seed bead, one bugle bead and sew through the 11/0 seed bead which lies between the bugle beads added previously.
Pick up one bugle bead, one 11/0 seed bead, one bugle bead and sew through three beads (one 11/0, one 4 mm round bead and one 11/0).
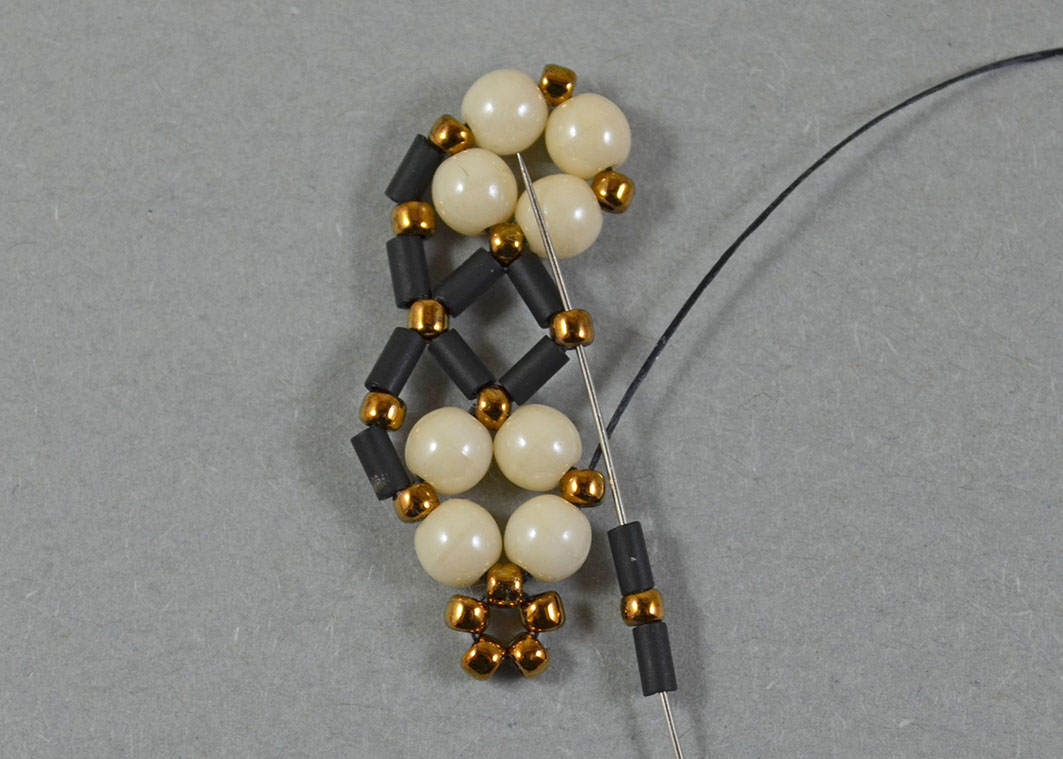
Step 6. Suspension loop.
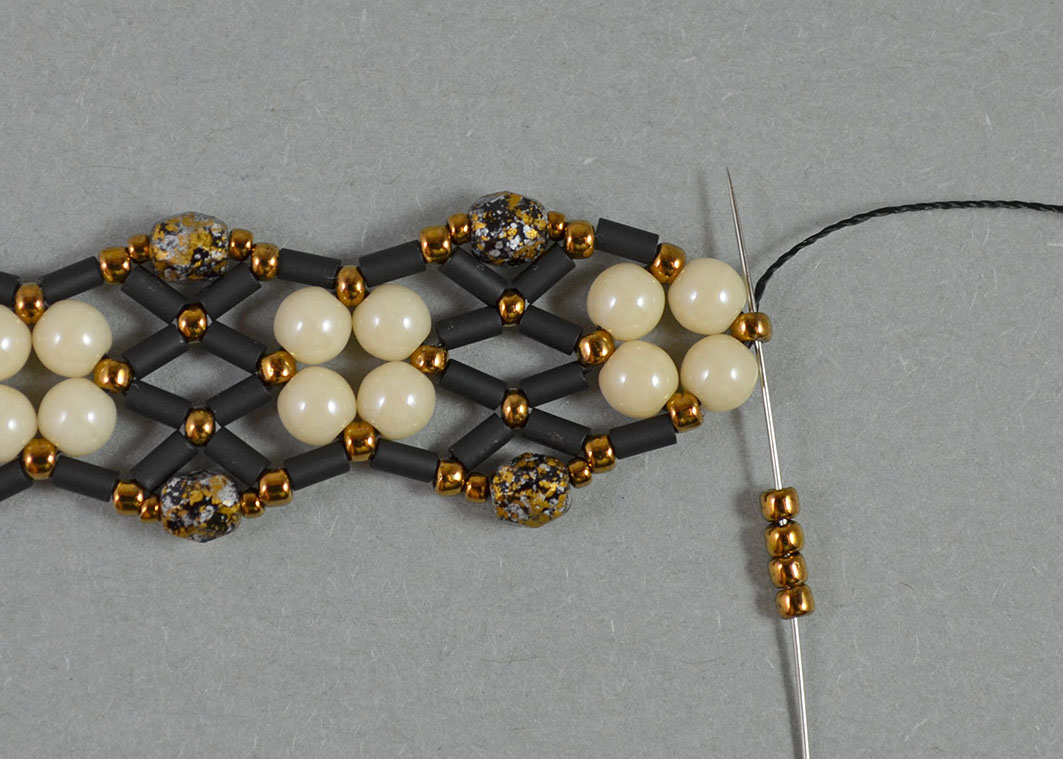
Pick up four 11/0 seed beads and sew again through the 11/0 seed bead the thread is exiting.
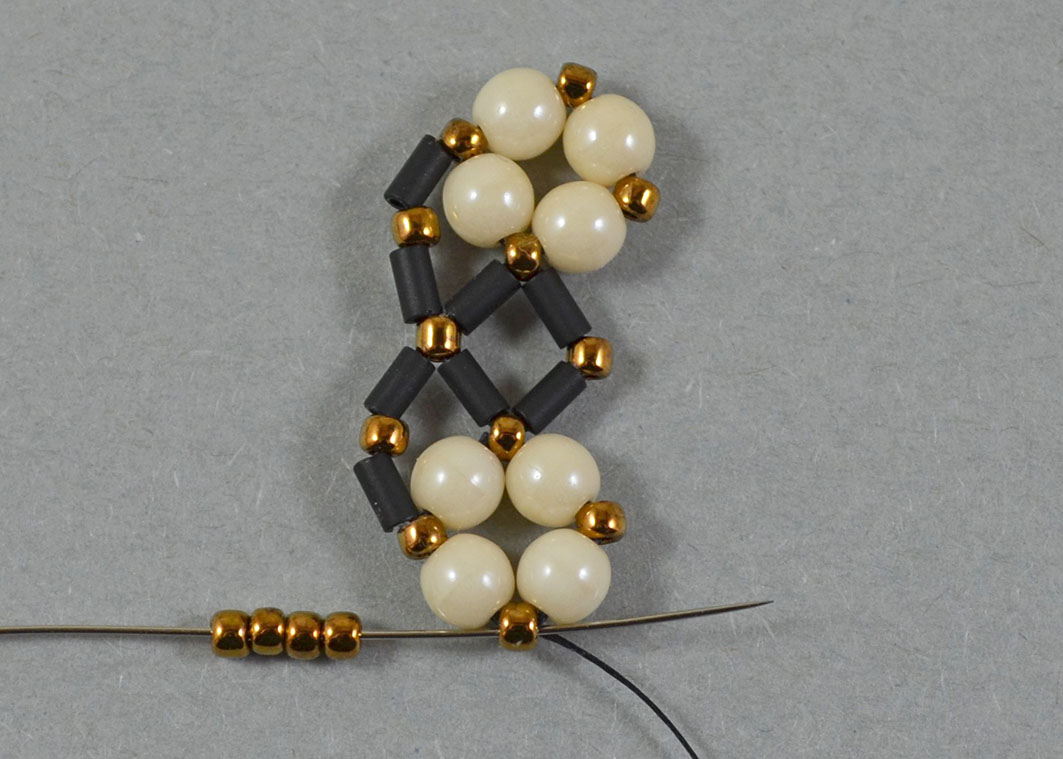
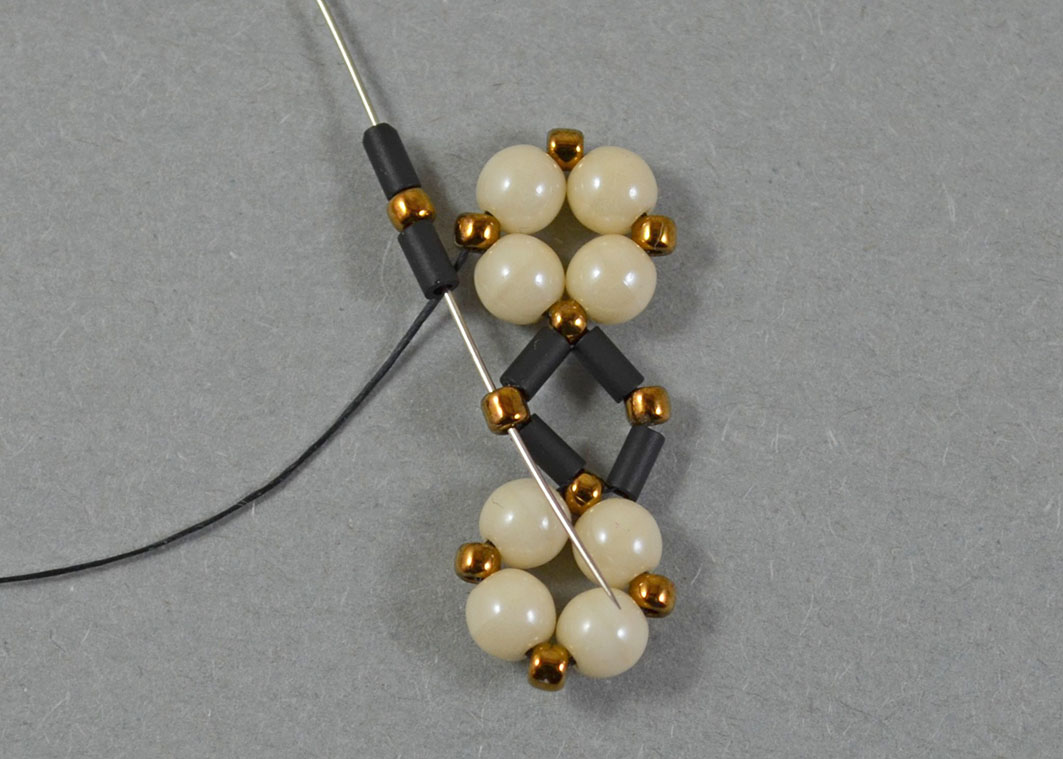
Step 7.
Sew through the next two beads (one 4 mm round bead and one 11/0 seed bead).
Pick up one bugle bead, one 11/0 seed bead, one bugle bead and sew through the 11/0 seed bead which lies between the bugle beads added previously.
Pick up one bugle bead, one 11/0 seed bead, one bugle bead and sew through three beads (one 11/0, one 4 mm round bead and one 11/0).
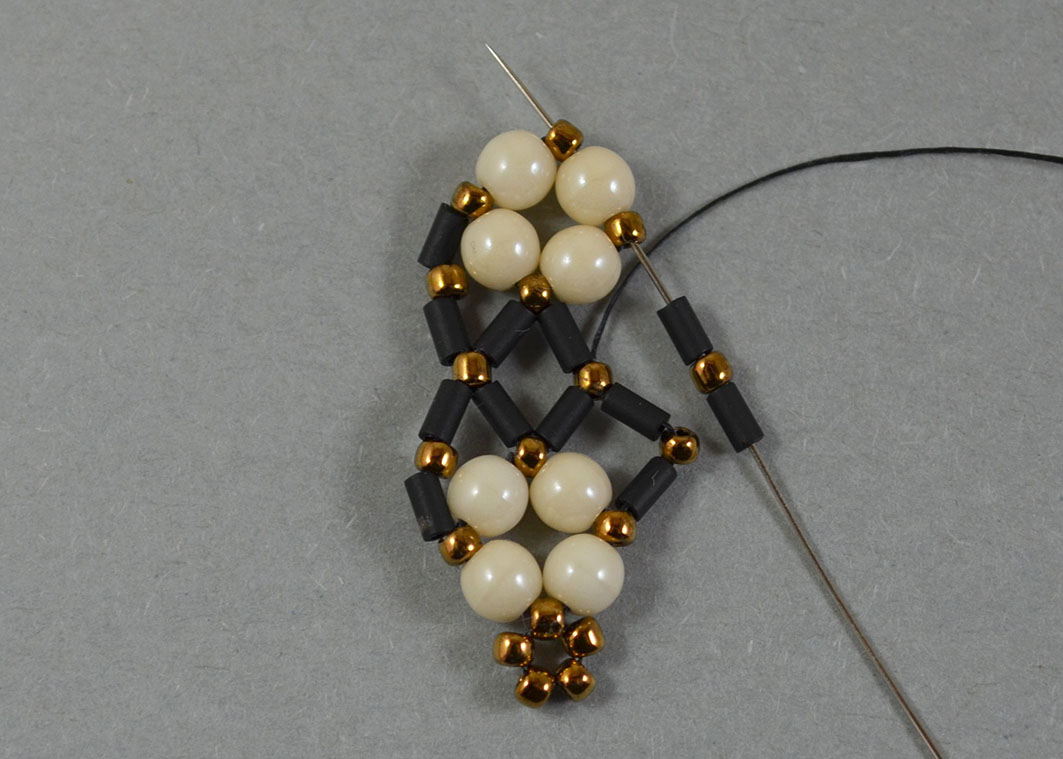
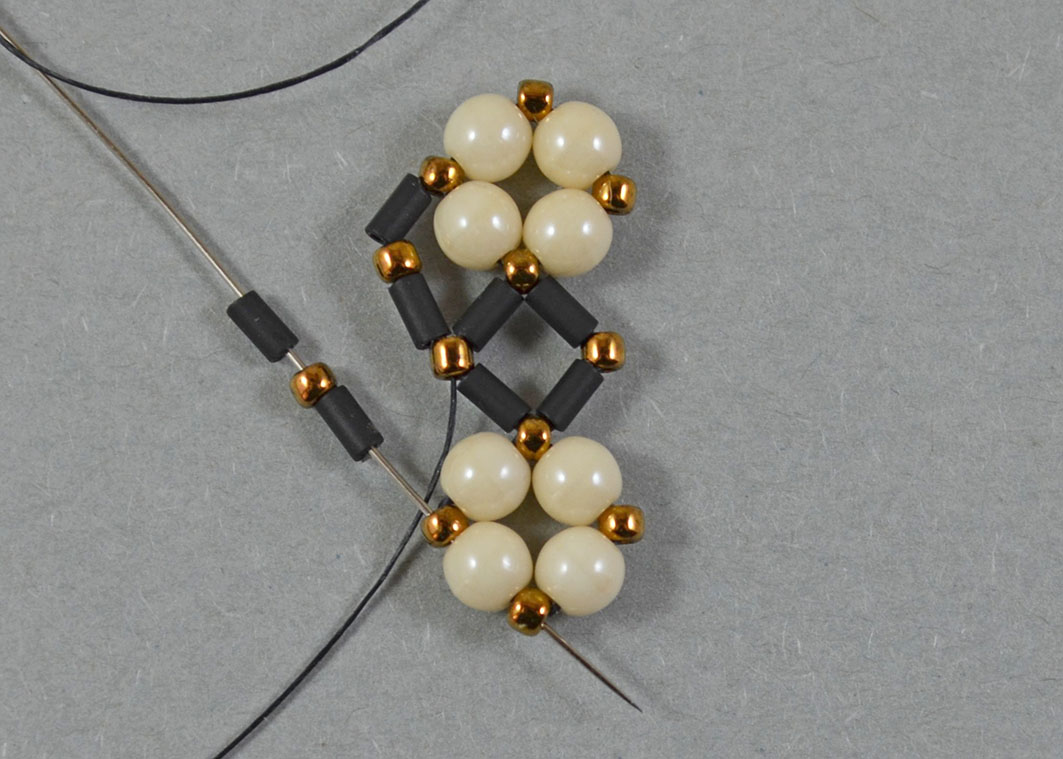
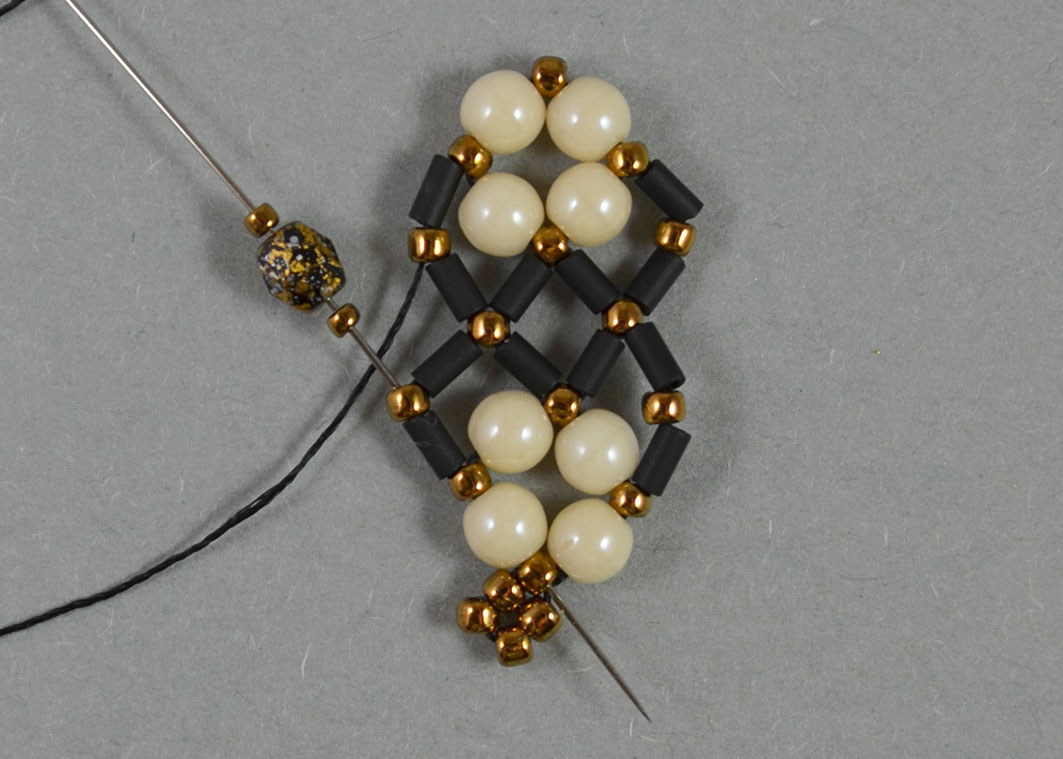
Step 8.
Sew through the next four beads (one 4mm round bead, one 11/0 seed bead, one bugle bead and one 11/0 seed bead).
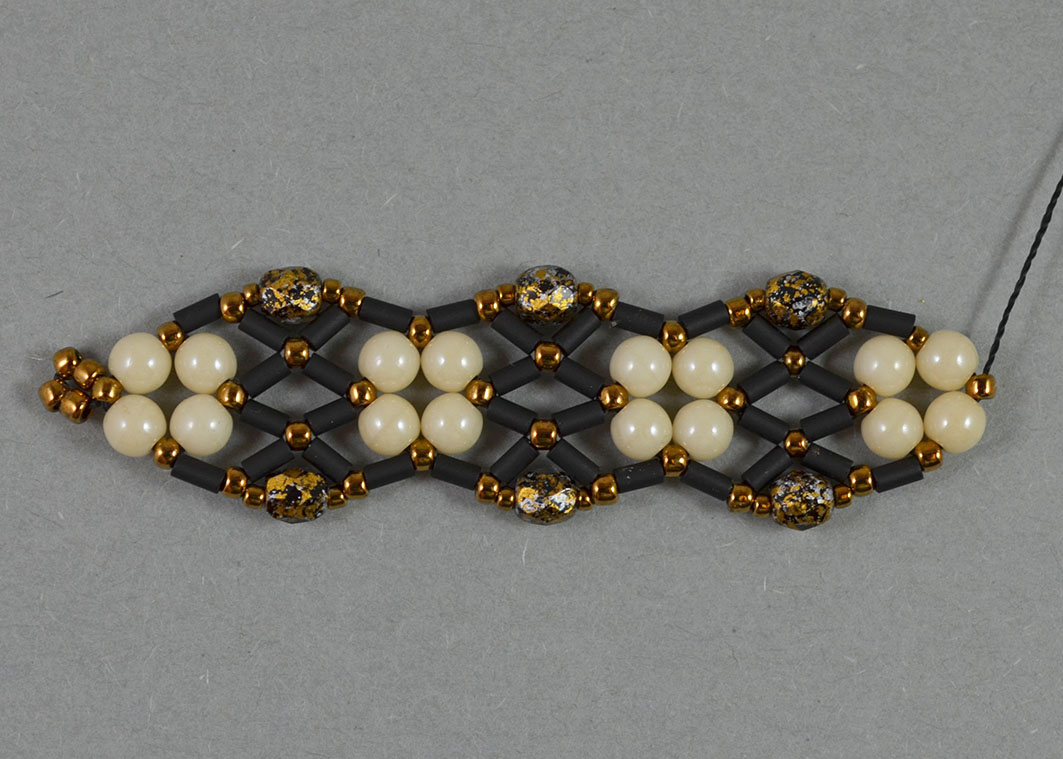
Pick up one 15/0 seed bead, one 4 mm fire polished bead, one 15/0 seed bead and sew through five beads as shown in the above image (one 11/0, one bugle bead, one 11/0, one 4 mm round bead, one 11/0).
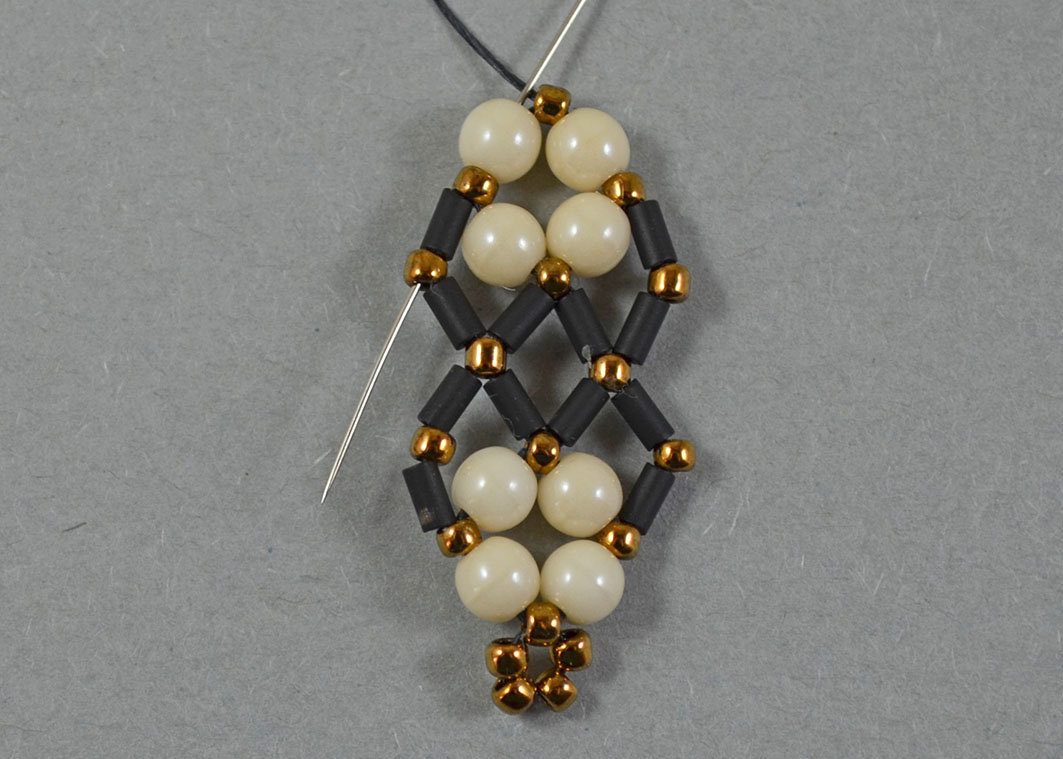
Sew through the next four beads (one 4 mm round bead, one 11/0, one bugle bead, one 11/0).
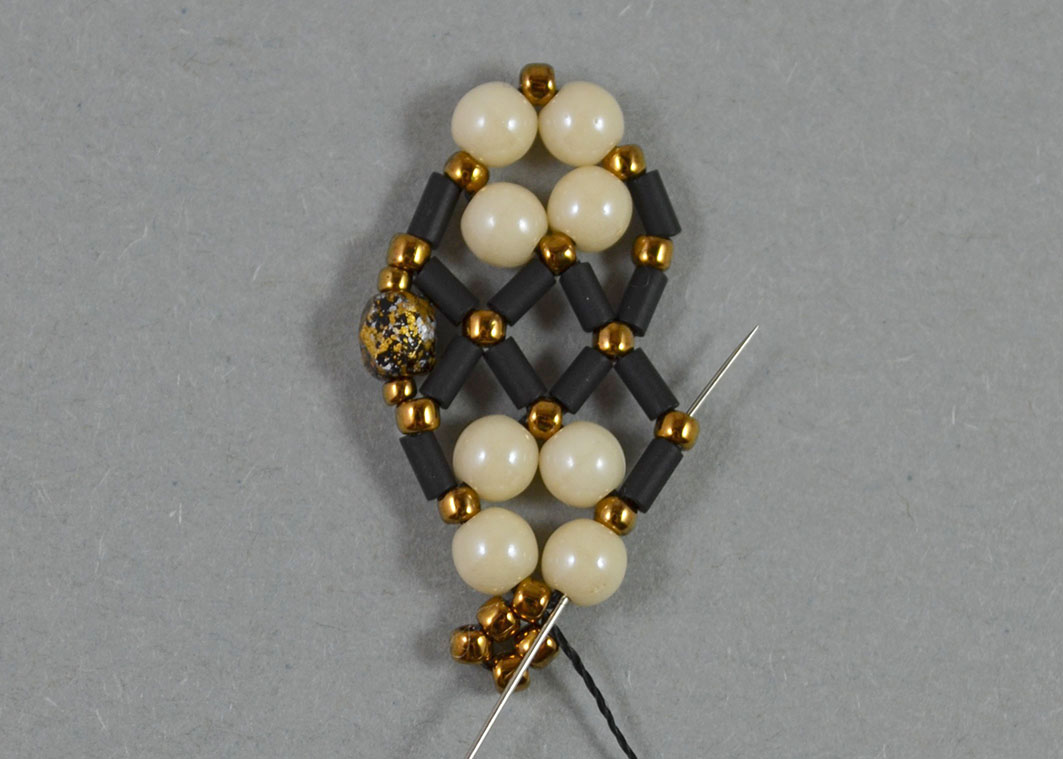
Pick up one 15/0 seed bead, one 4 mm fire polished bead, one 15/0 seed bead and sew through five beads as shown in the above image (one 11/0, one bugle bead, one 11/0, one 4 mm round bead, one 11/0).
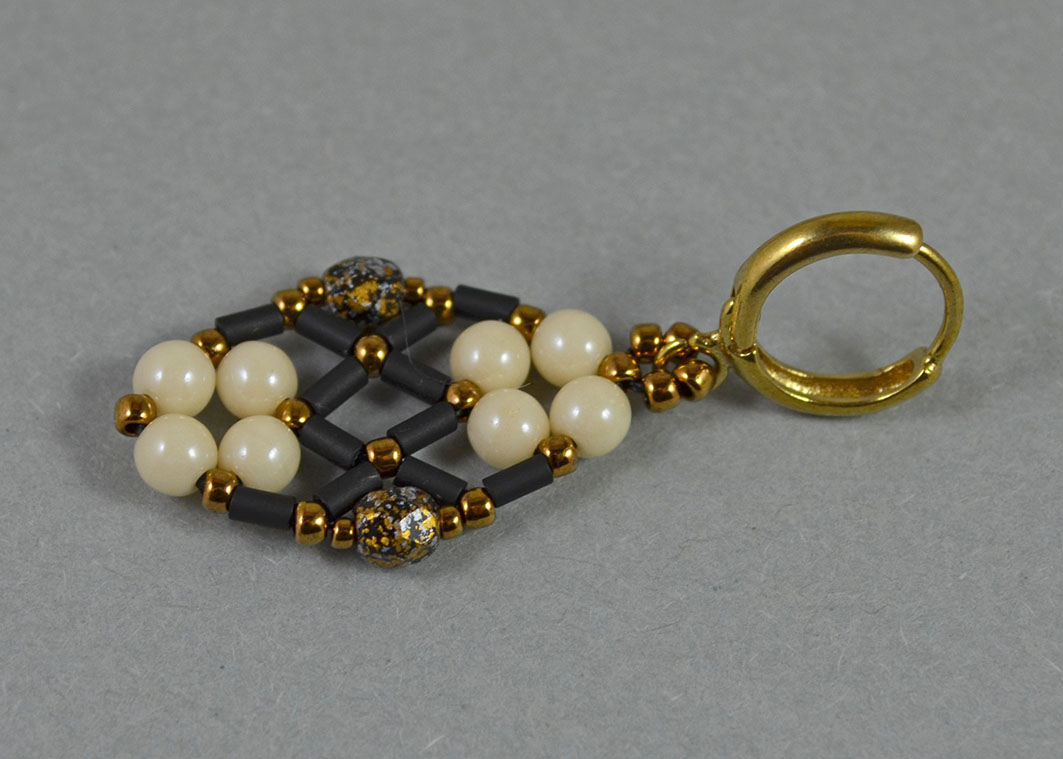
Step 9.
If you make earrings, hide the remaining thread into the beadwork and attach the earring finding through the suspension loop.
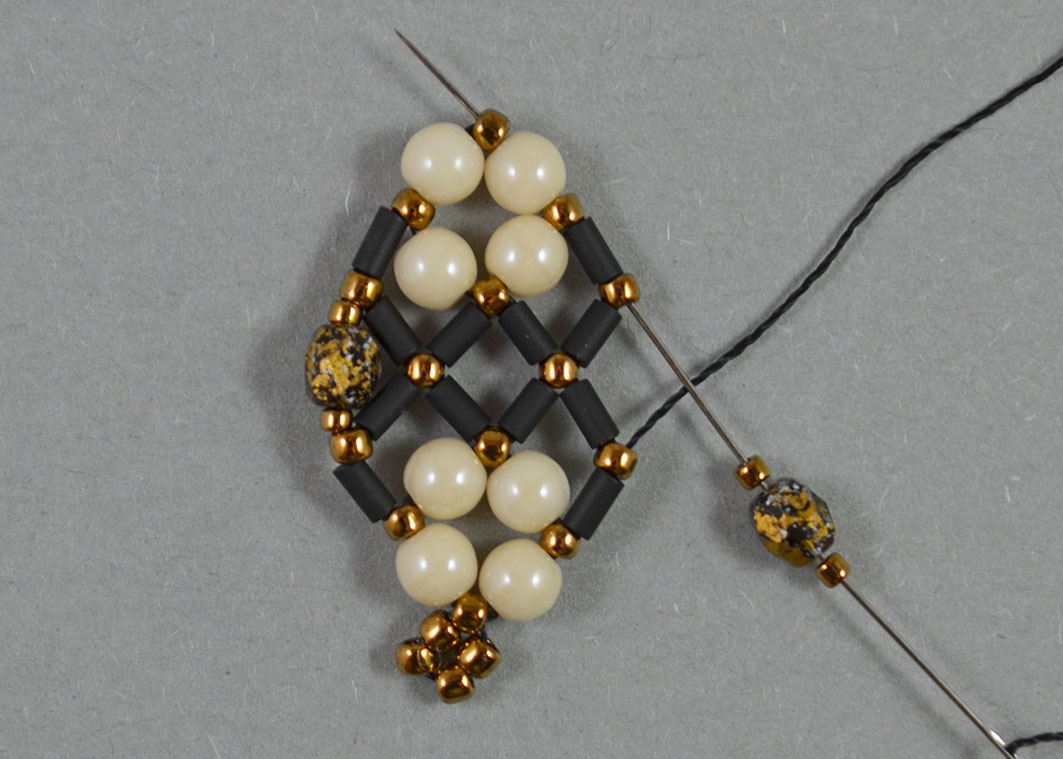
Step 10.
For the bracelet: continue beading using instructions from Step 3 through Step 8 (skip Step 6). Make other eight units or more, if needed.
Step 11.
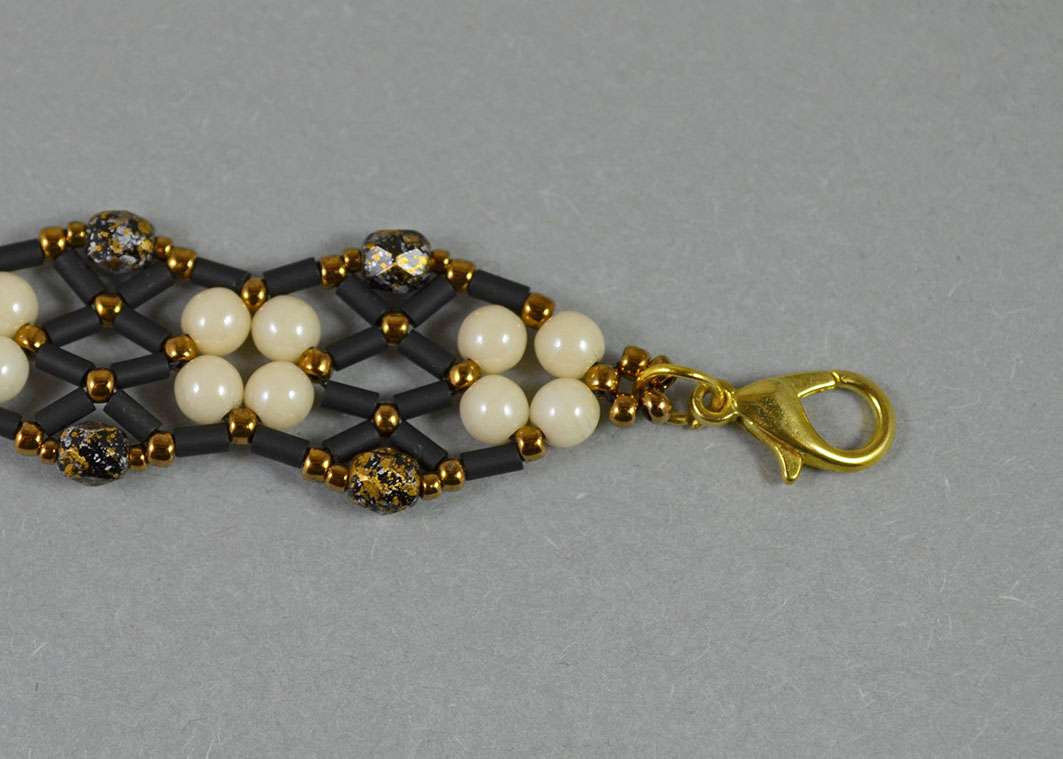
In the end make a loop as explained at Step 6 for the attachment of the jump rings and the clasp.
Step 12.
Finish the bracelet by adding the jump ring and the clasp through the loop.
********************
The PDF version of this beading pattern can be downloaded HERE.
********************
More FREE BEADING TUTORIALS are available HERE.